
Adding slide numbers is a good way to know how many slides are left before reaching the end of the presentation. In this new GreatPPT School tutorial, you’ll learn how to enable slide numbering step by step.
Adding Slide Numbers
- Open your presentation in PowerPoint.
- Go to the Insert tab.

- In the Text group, click Header & Footer. A new window will open.

- Header & Footer buttonCheck “Slide number” to enable it. You’ll see a little box highlighted in black on the preview.
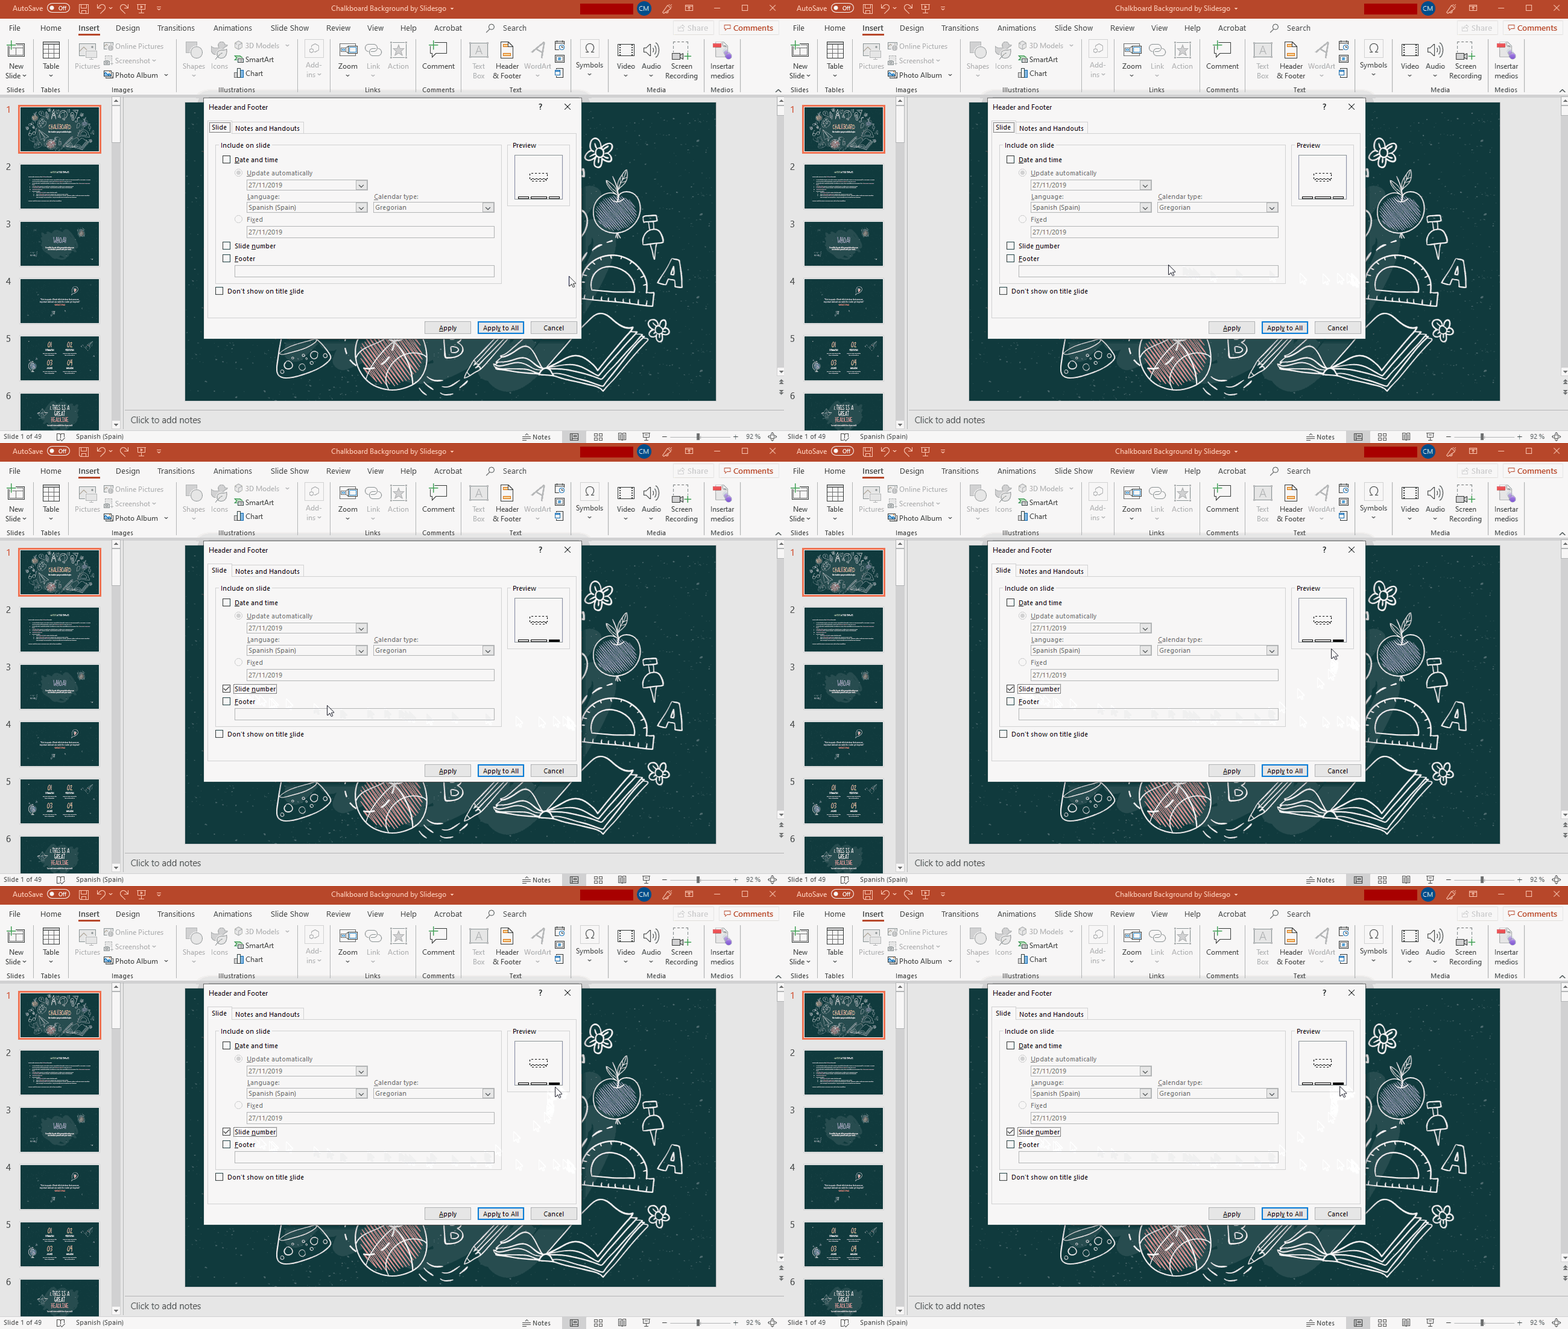
- If you don’t want to apply slide numbering or any other header or footer element to the title slide, check “Don’t show on title slide”.
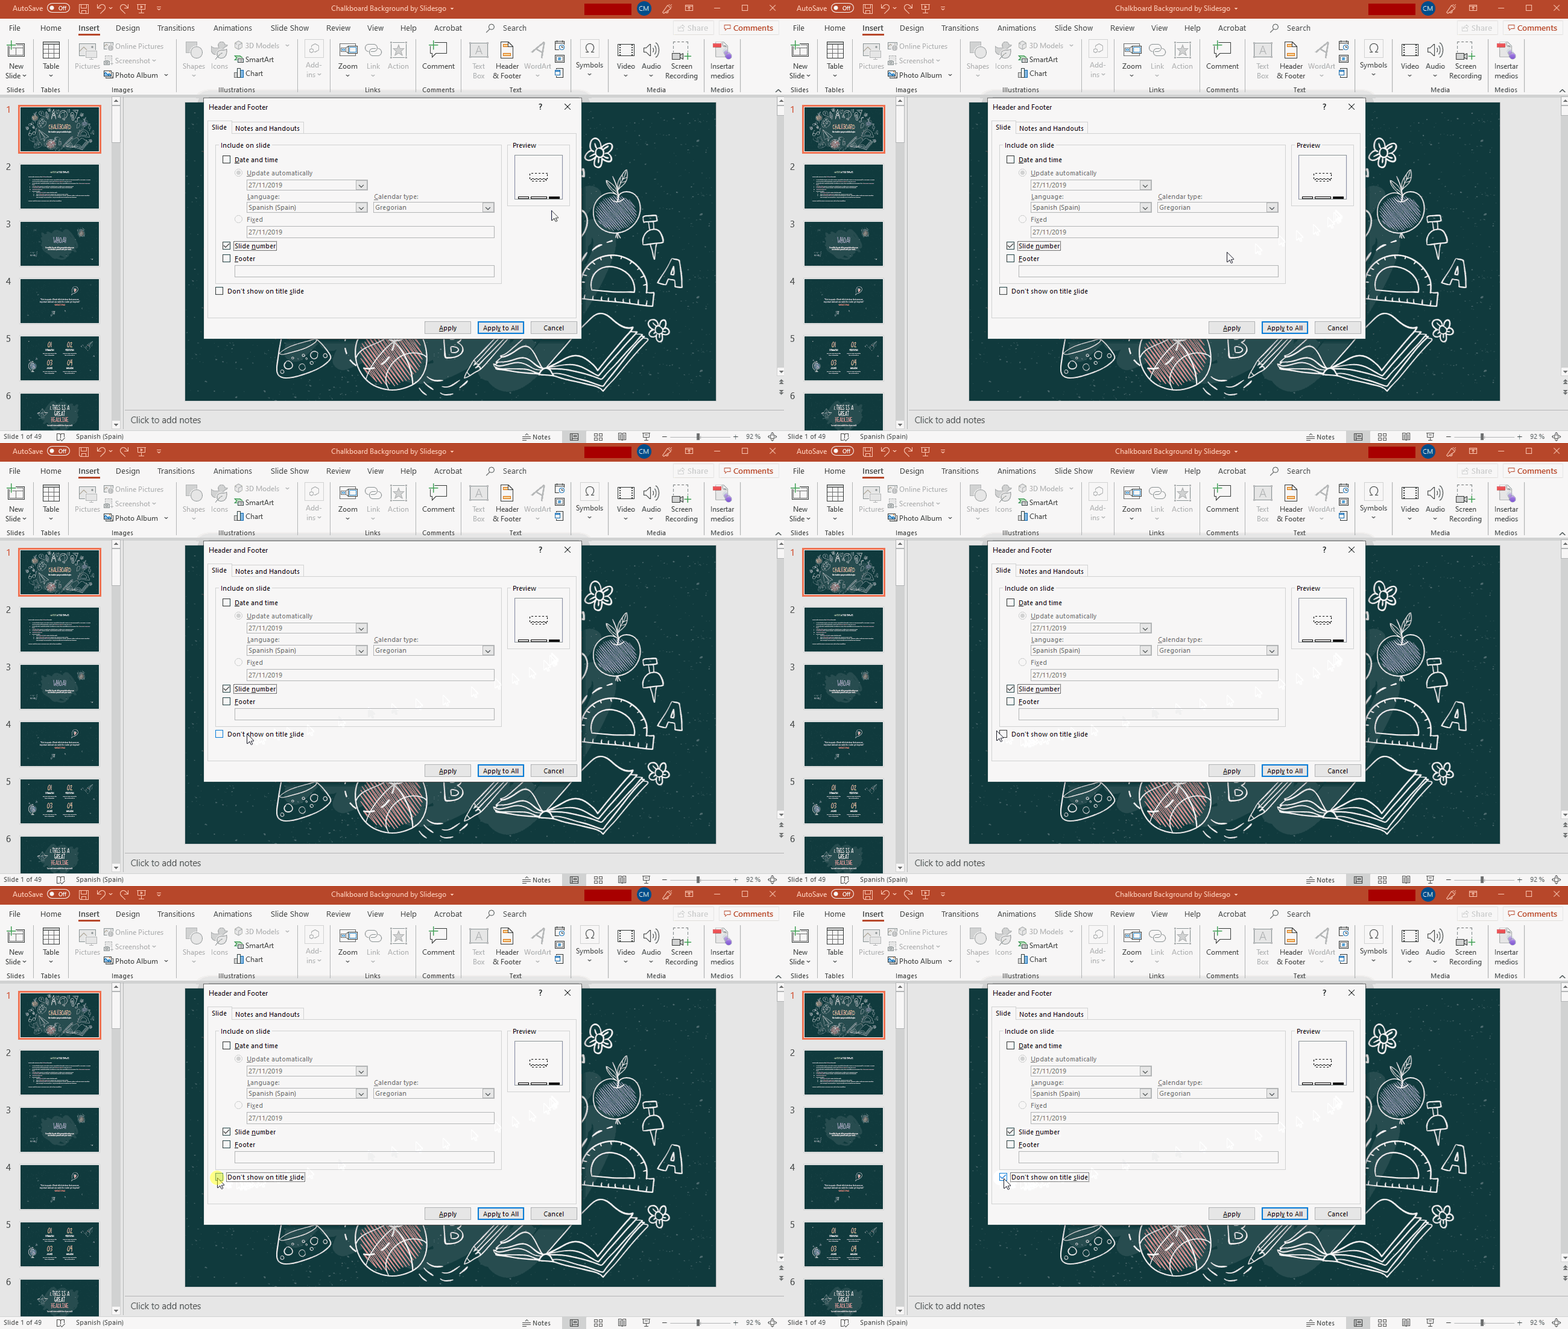
- Once done, to apply these changes only to the selected slide, click Apply. If you want to apply the changes to all the slides, click Apply to All (the title slide will be skipped if you’ve checked “Don’t show on title slide”).
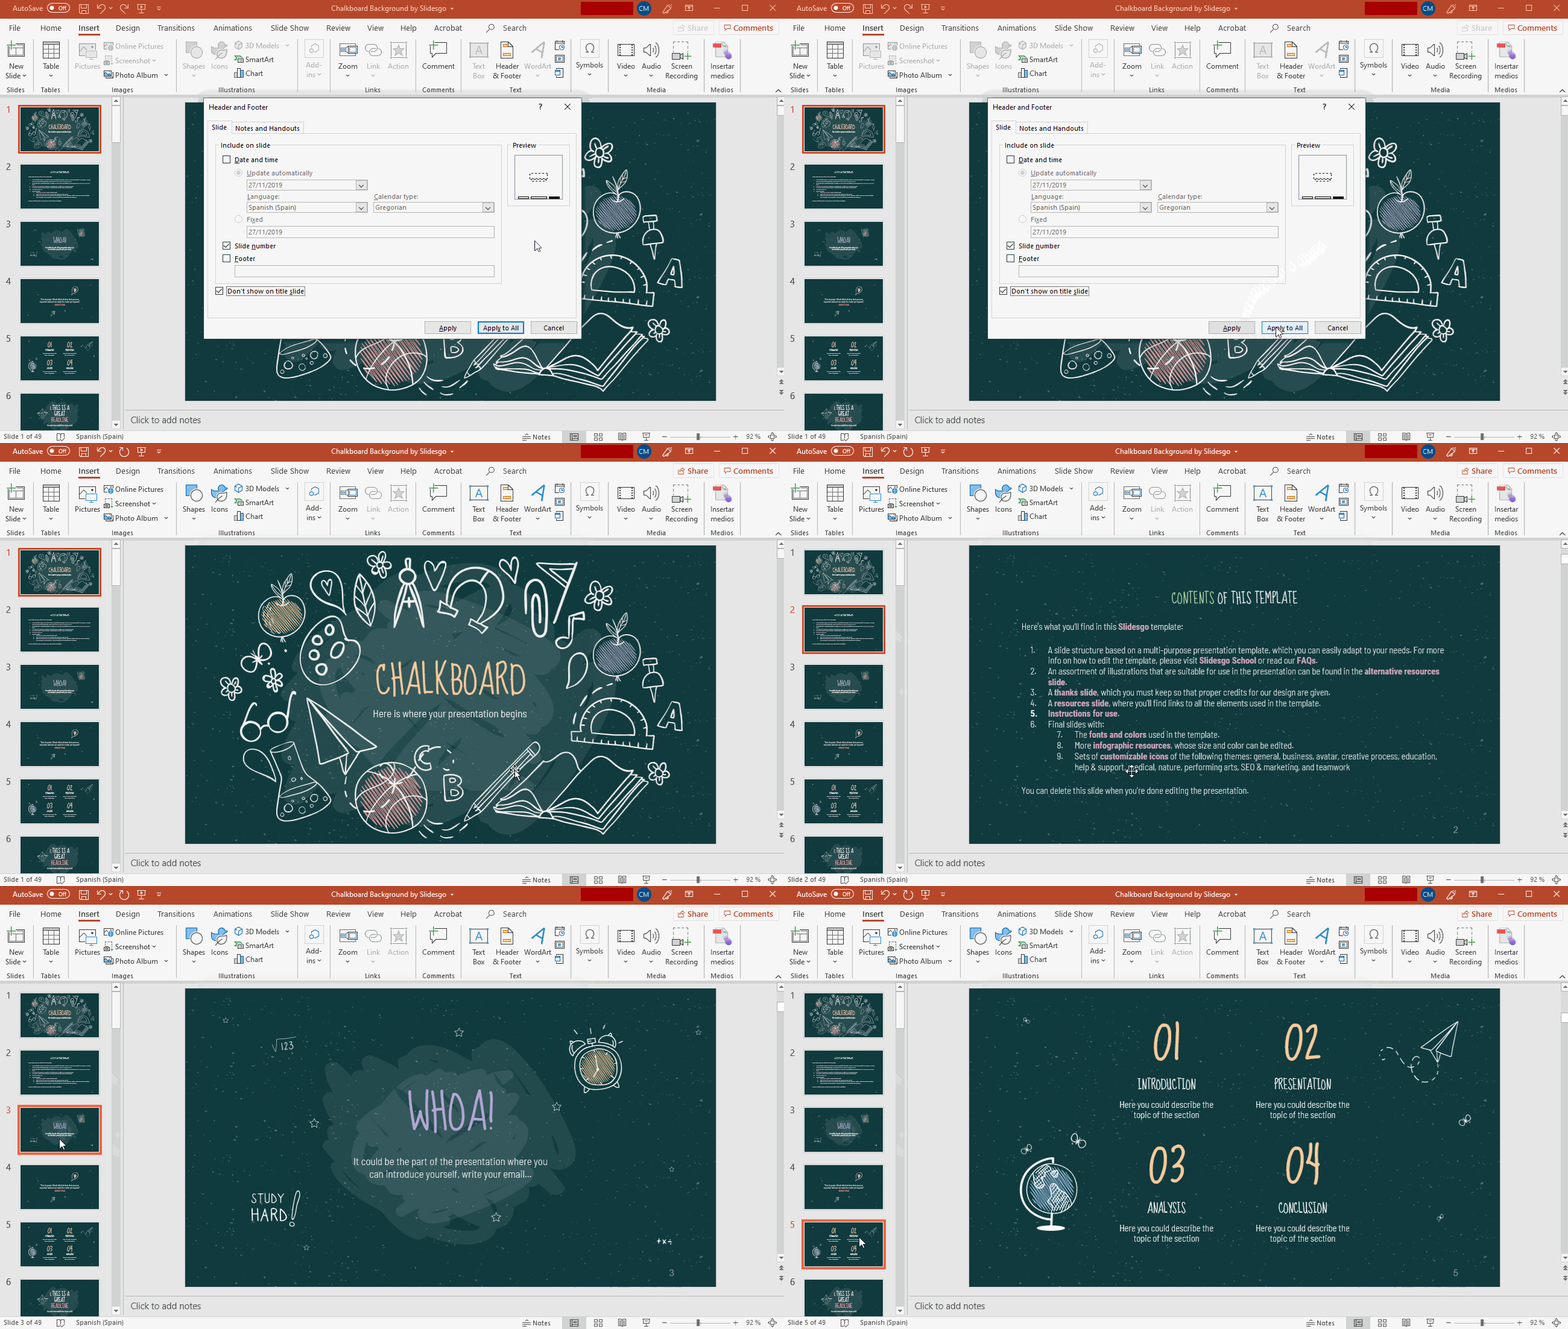
- Now you can edit the style of the slide numbers to adapt it to your needs.
- Some of our templates might require a different procedure in order to add slide numbering. We recommend that you read the last section of this tutorial.
Editing Slide Numbers
- Run PowerPoint and open the presentation in which the slide numbers are enabled.
- If you want to edit the style of the text, you can do so in each individual slide. In fact, you can adjust the size, color, font, position, etc.

- If you want to adjust these parameters for all the slides at once, you need to do so in the slide master. Go to the View tab and, in the Master Views group, click Slide Master.

- Select the slide master (the first one, which acts as the parent slide). Then, click the slide number box, which is the one that contains the text “<#>”.
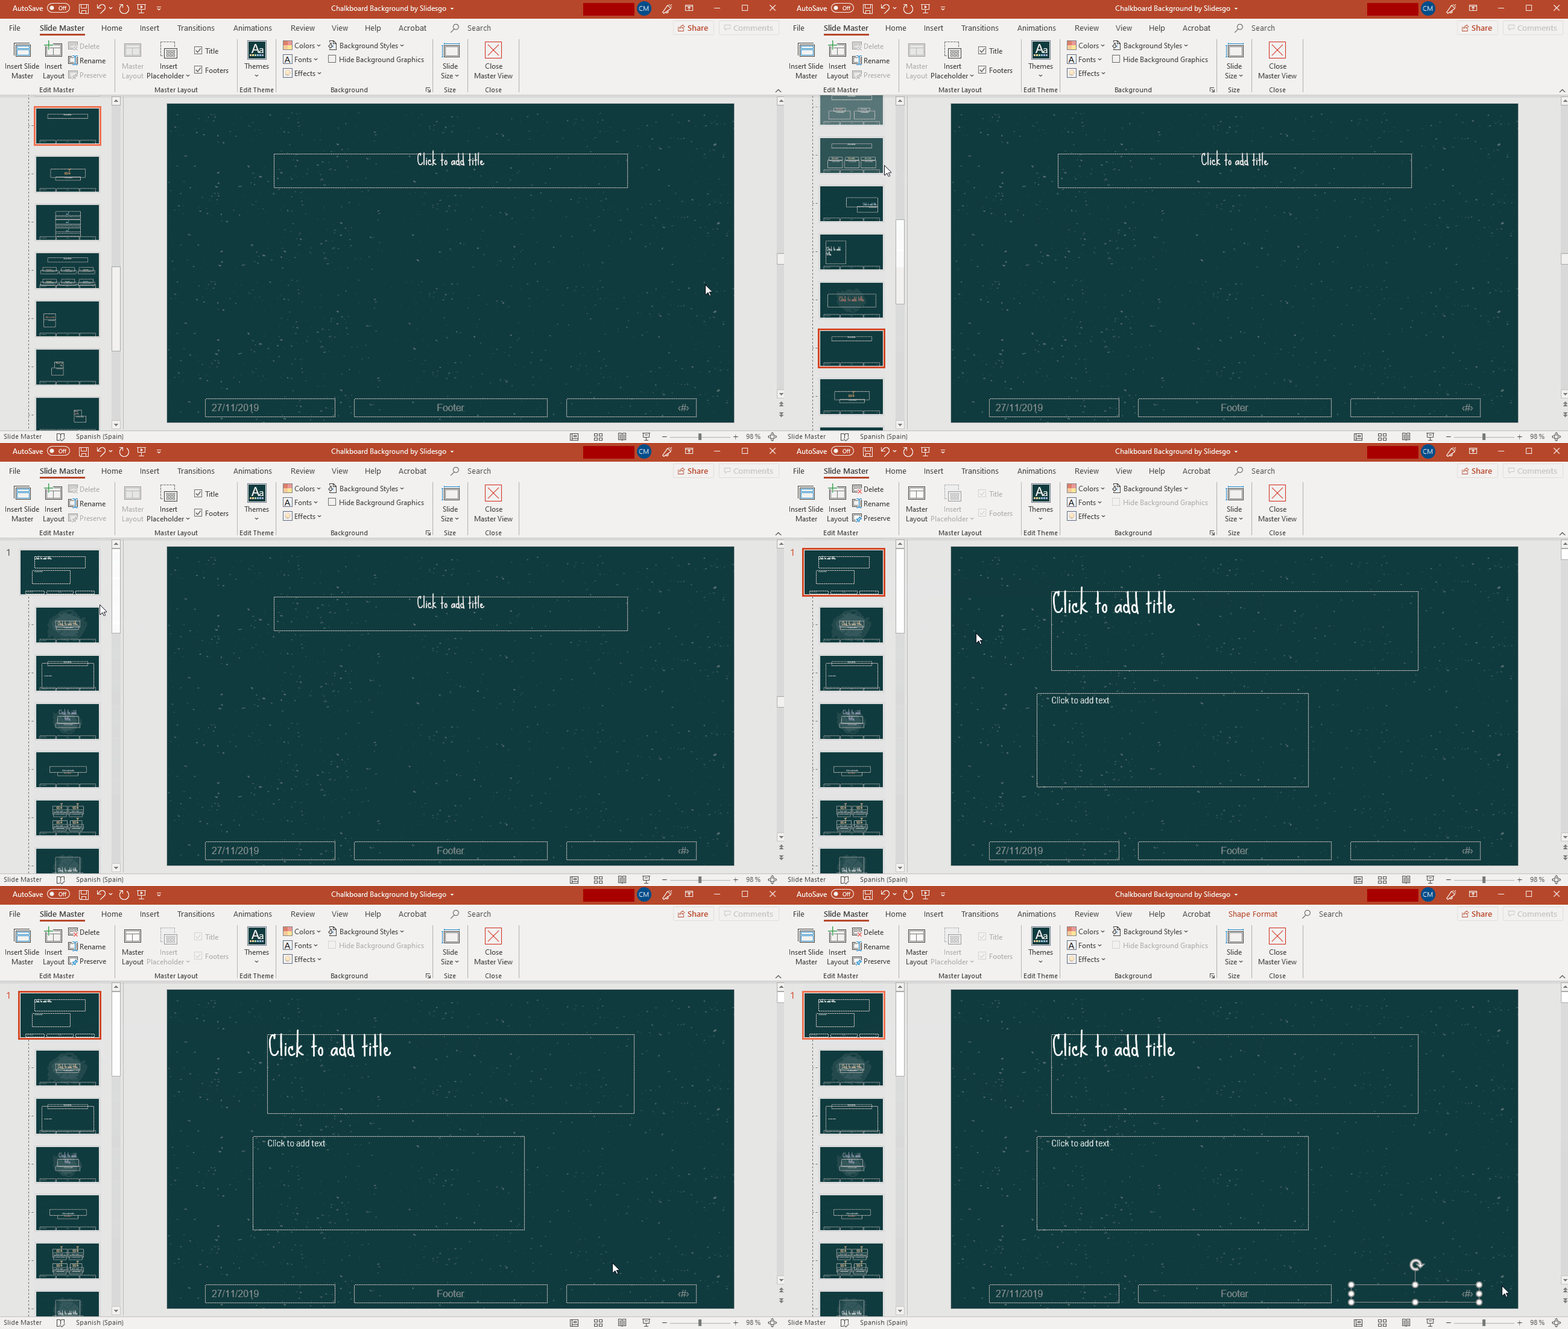
- Make any adjustments until you’re happy with the results. If you need to modify anything related to the typography, you’ll find the relevant options on the Home tab. To modify anything related to the text box, go to the Shape Format tab. You can also move the text box around to change its position.
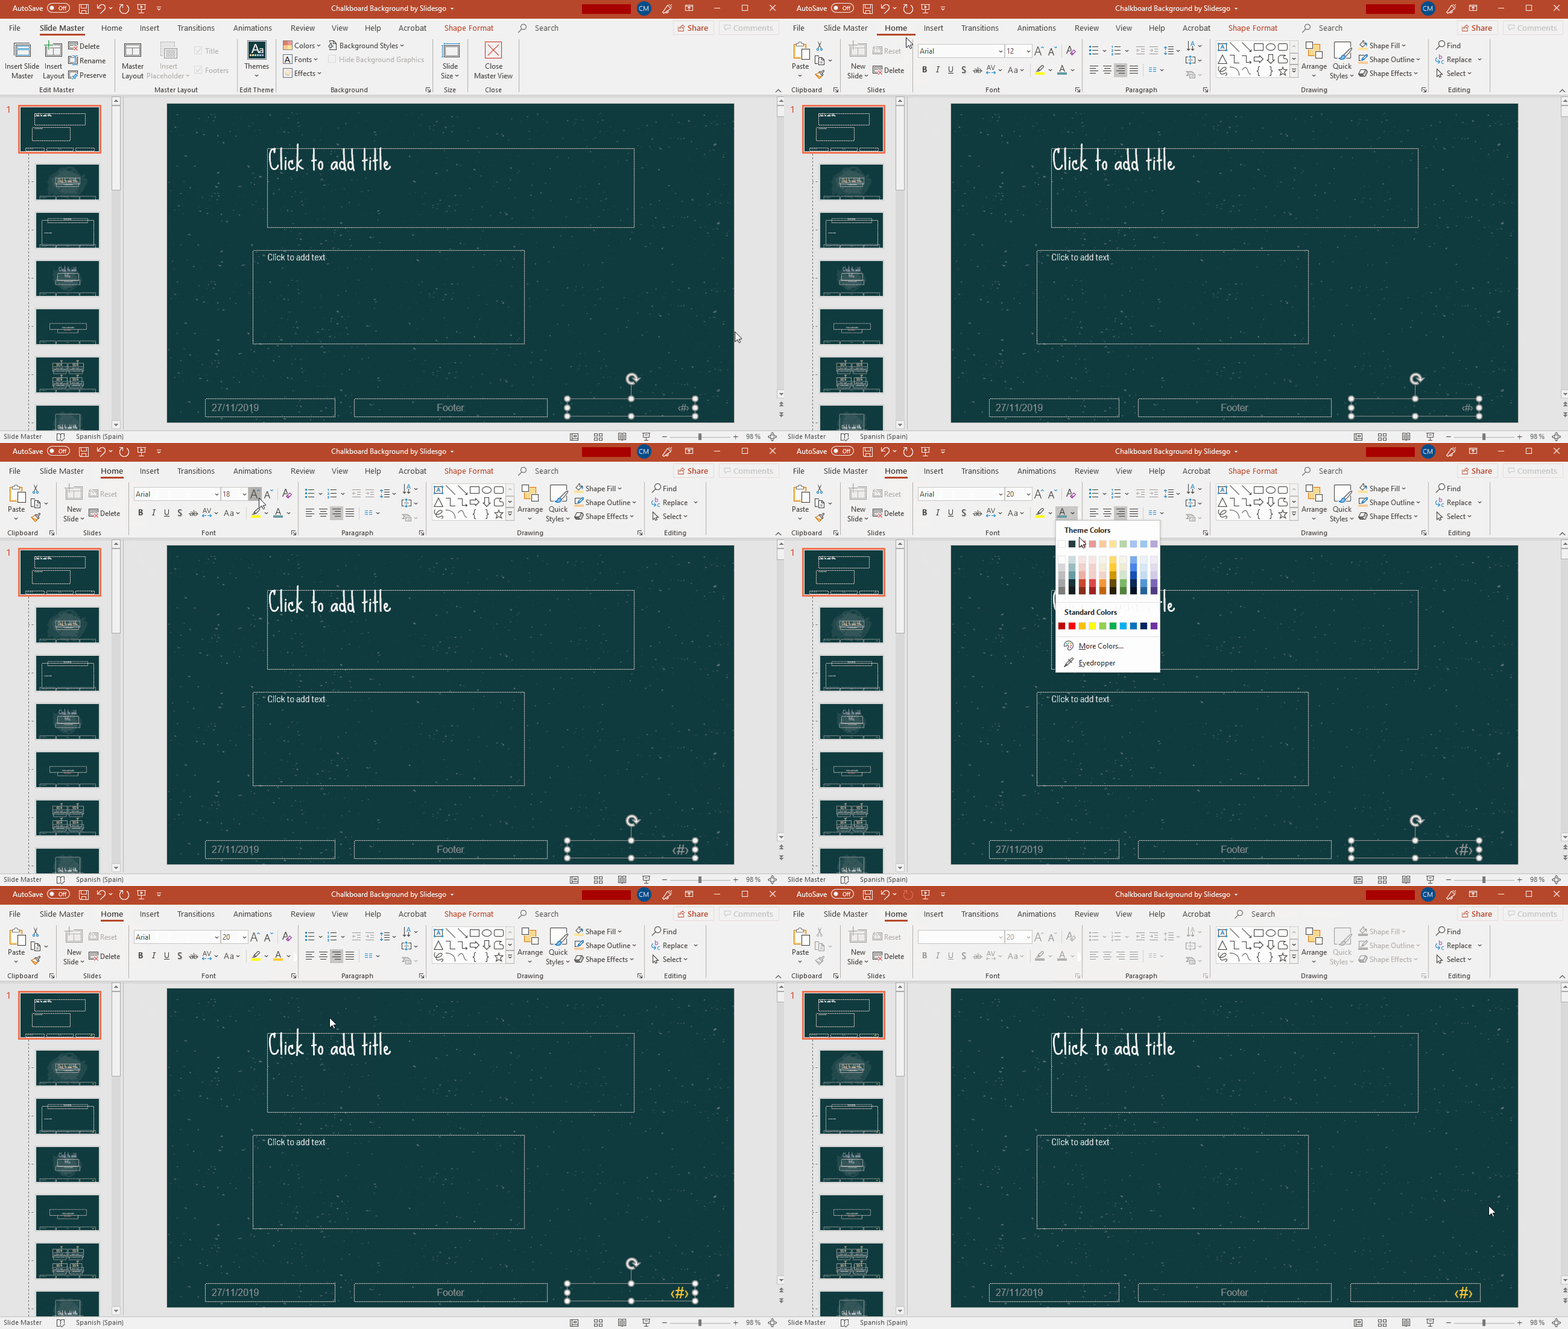
- Once you’re done, go to the Slide Master tab and click Close Master View. The changes will be applied to all the slides.
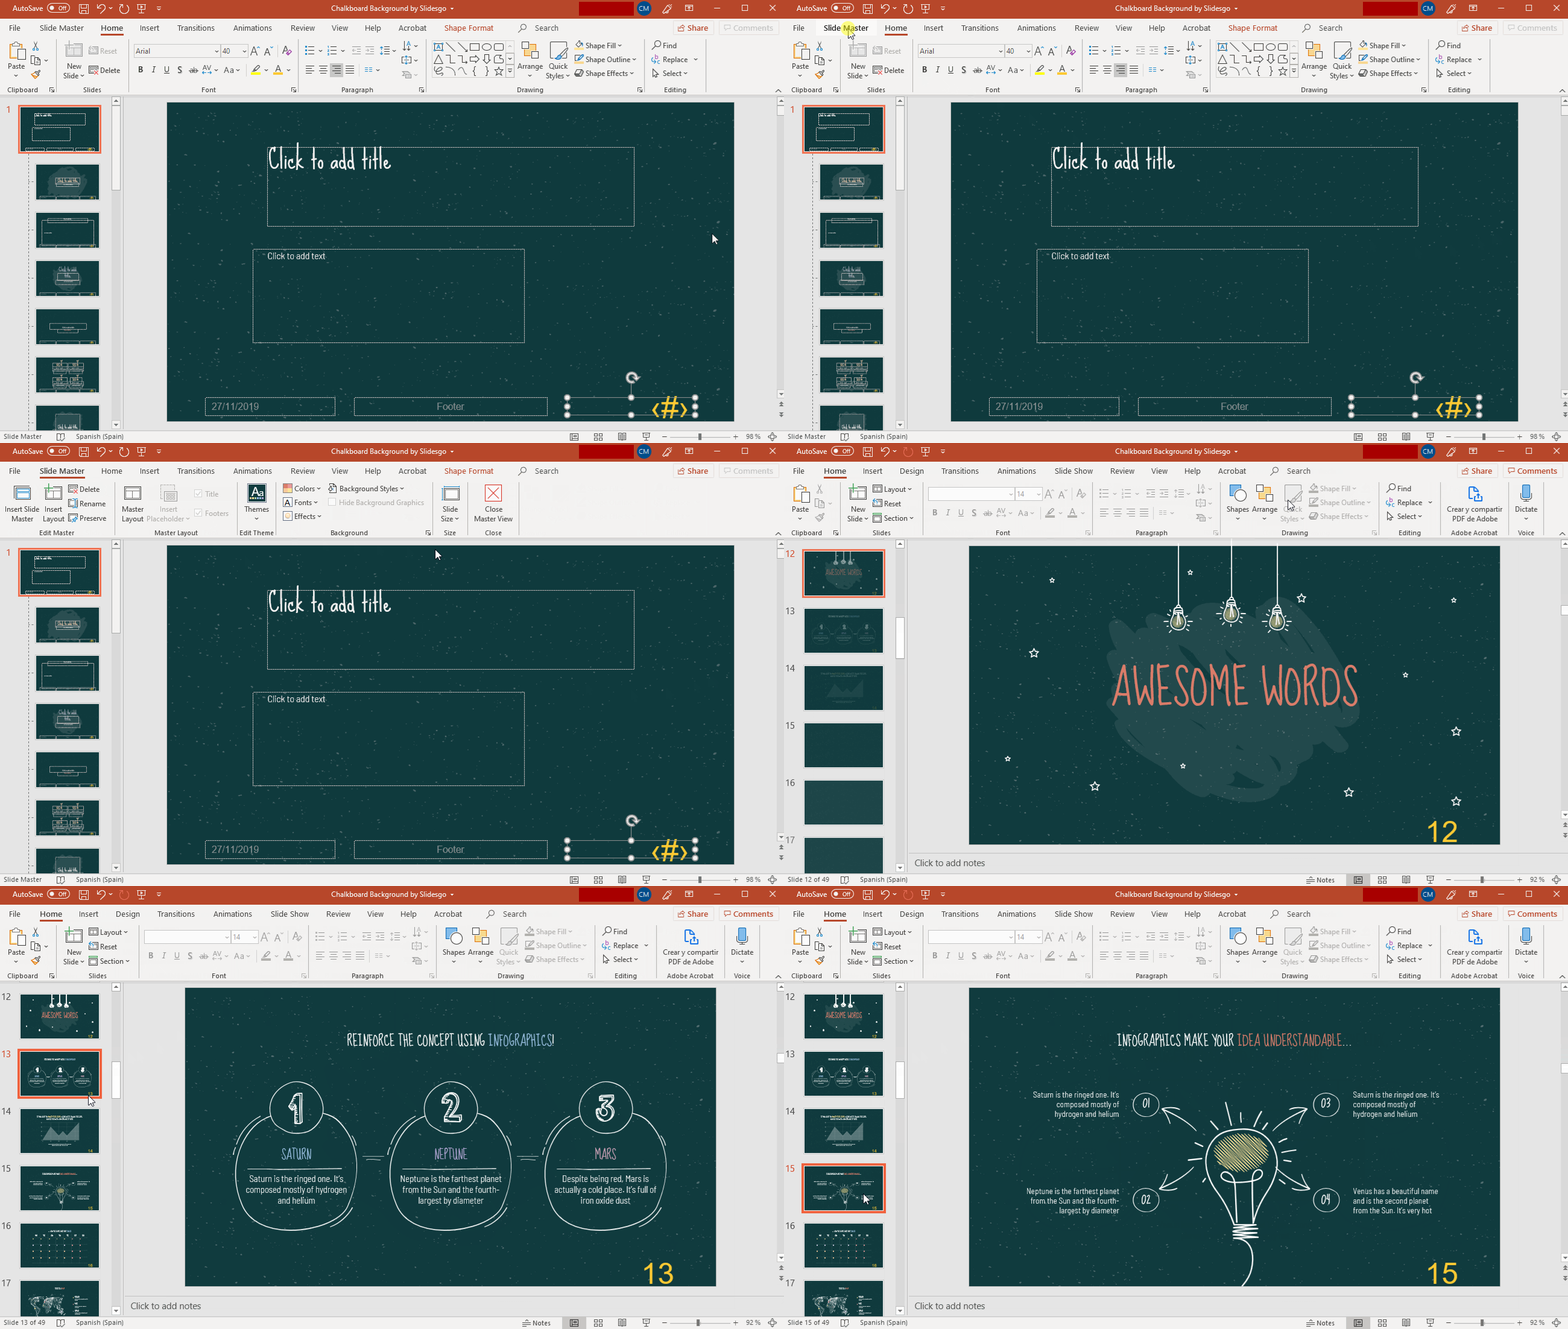
- Please note that if you make any adjustment on any slide, it will be overridden by any further modification made on the slide master.
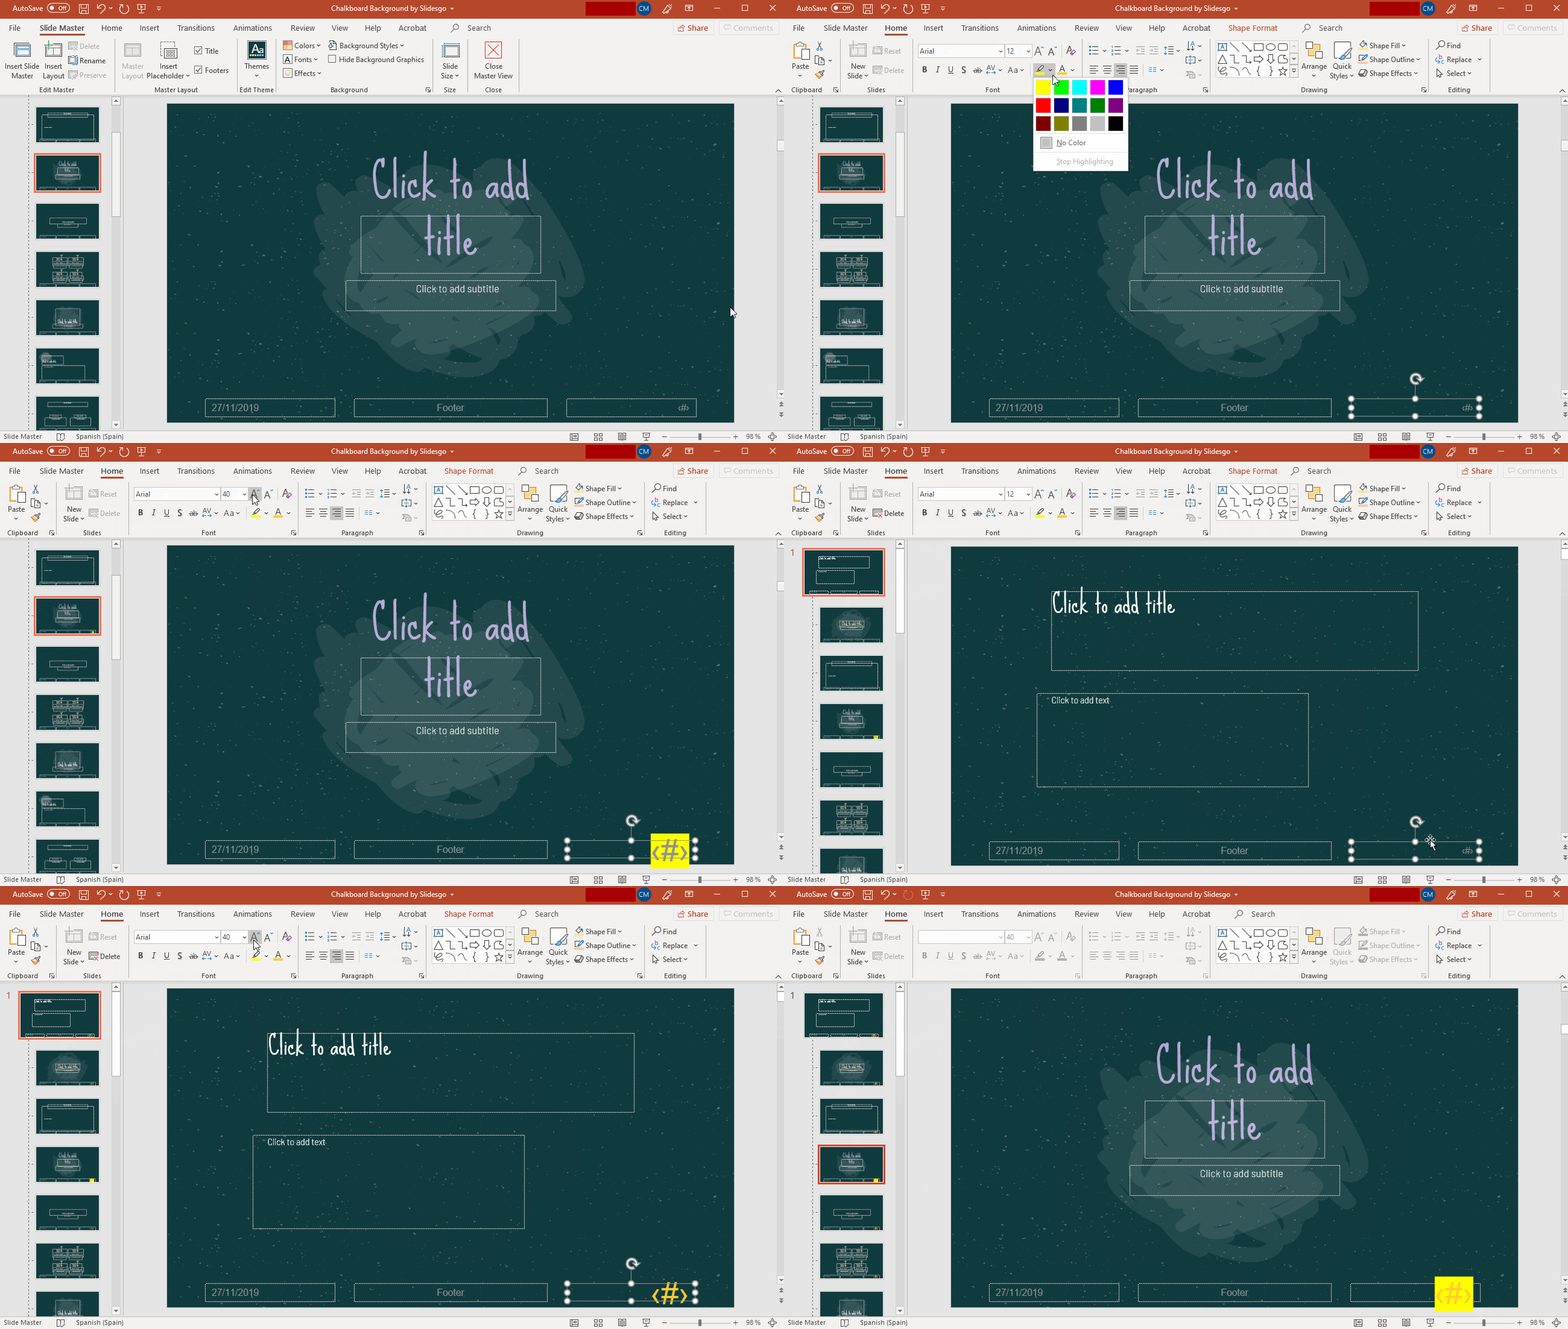
Enabling Slide Numbers in Our Templates
- Open our template in PowerPoint.
- Go to the View tab and, in the Master Views group, click Slide Master.
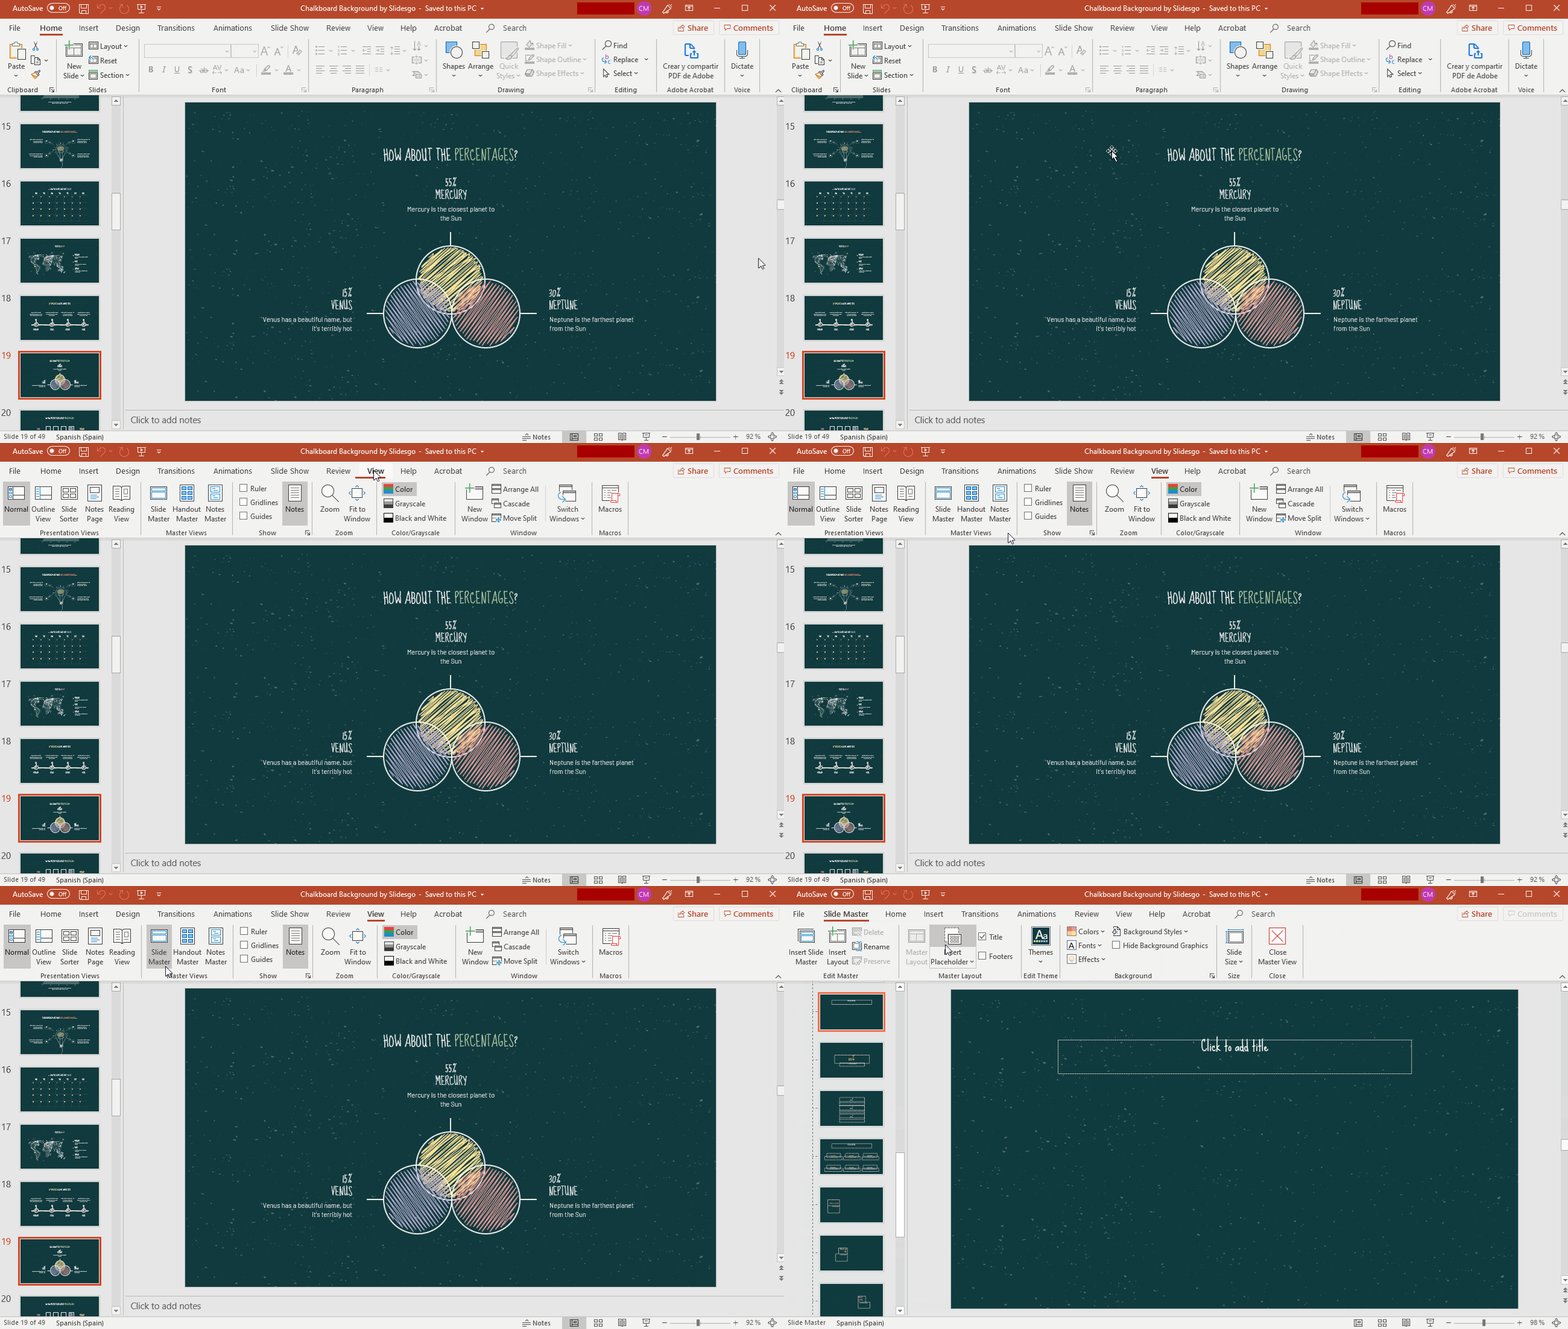
- Select the slide master (the first one, which acts as the parent slide).
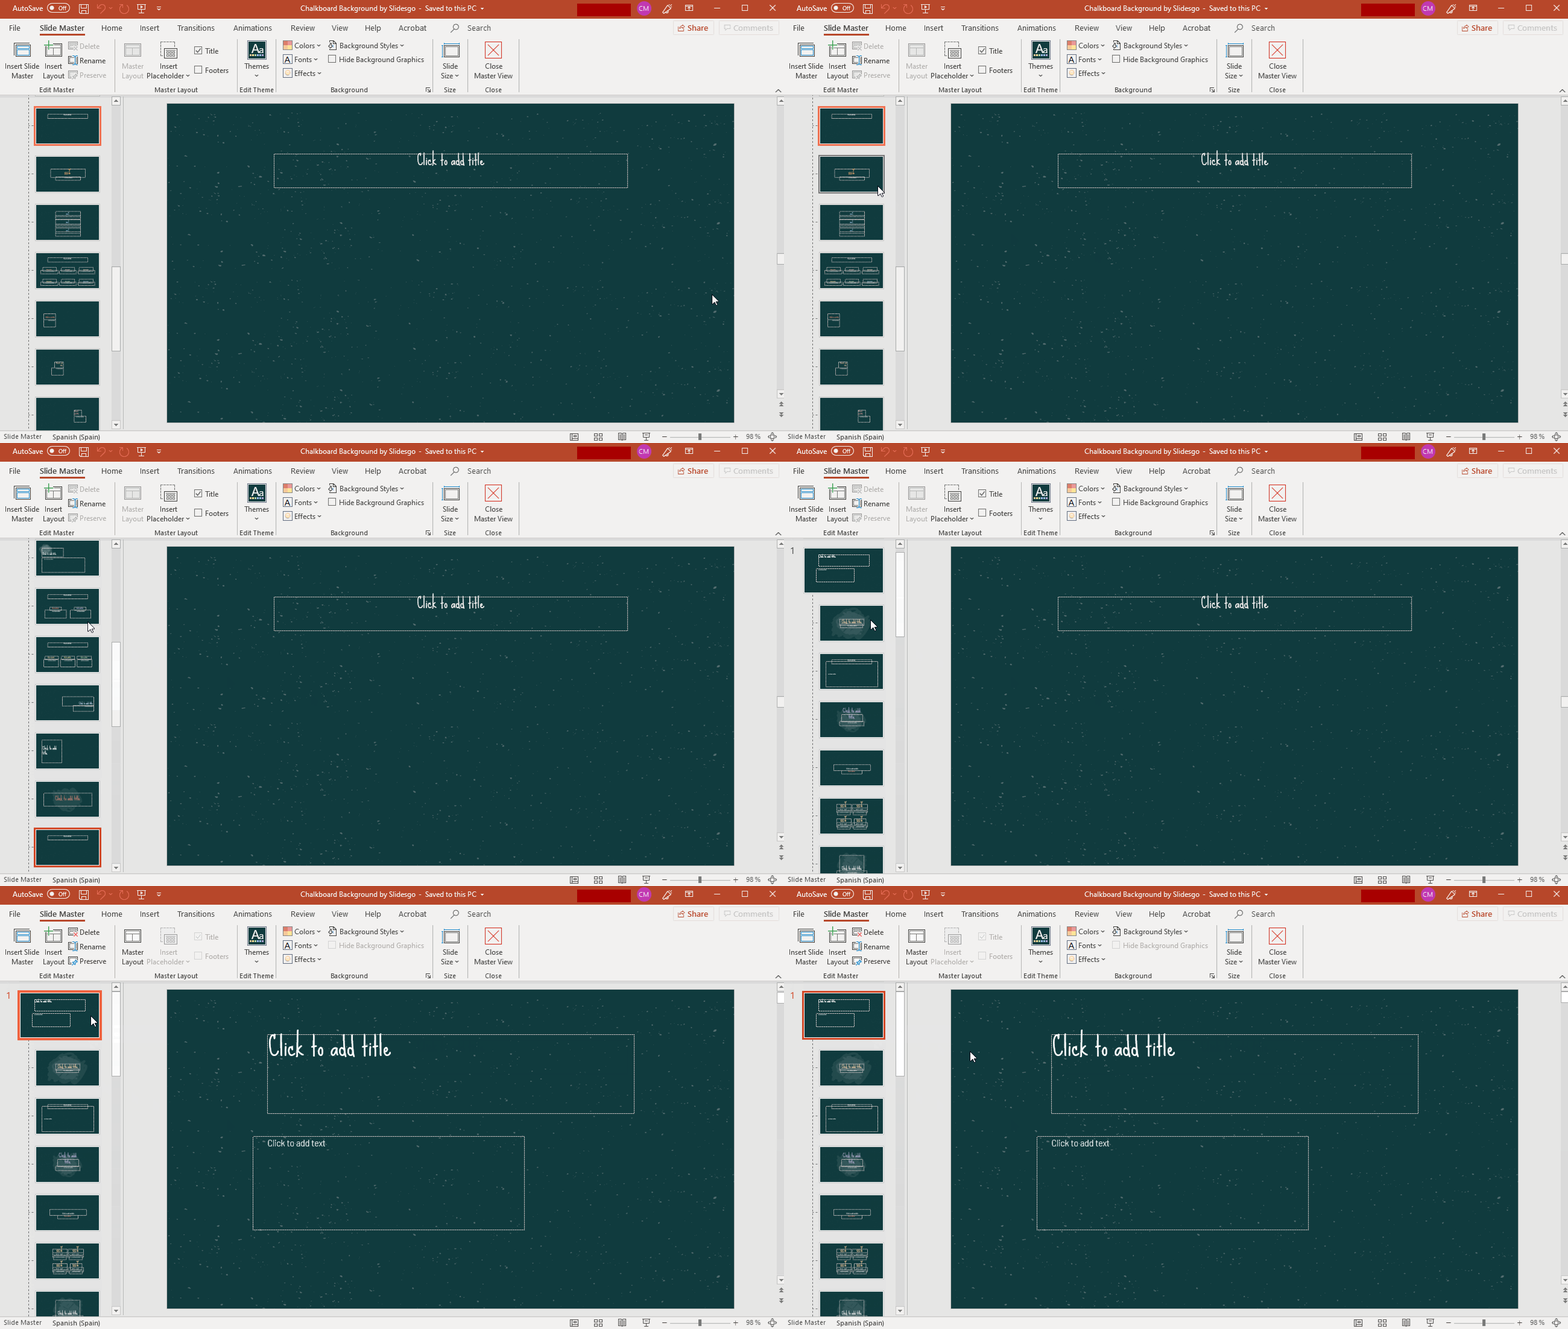
- Go to the Slide Master tab and, in the Master Layout group, click Master Layout. A new window will open.
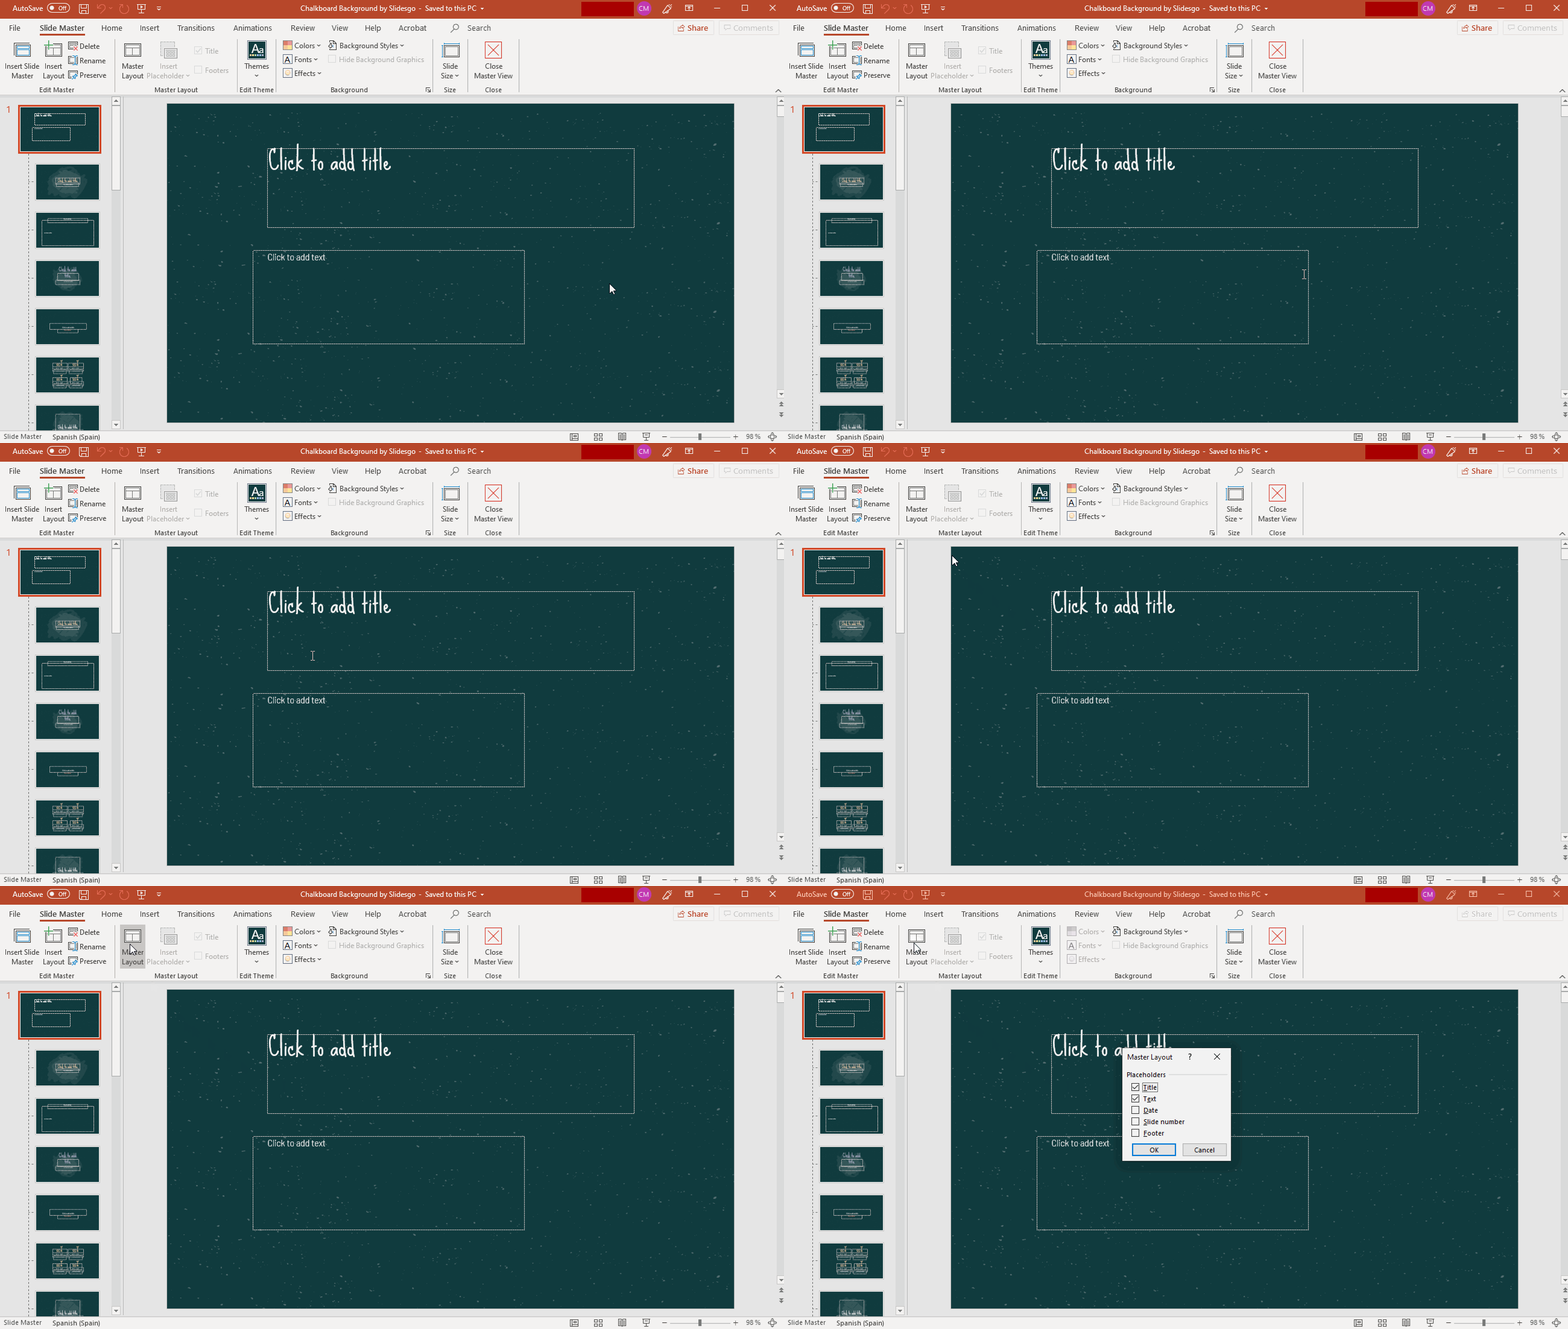
- Check “Slide numbers” and click OK. A text box will appear at the bottom-right corner with the text “<#>”.
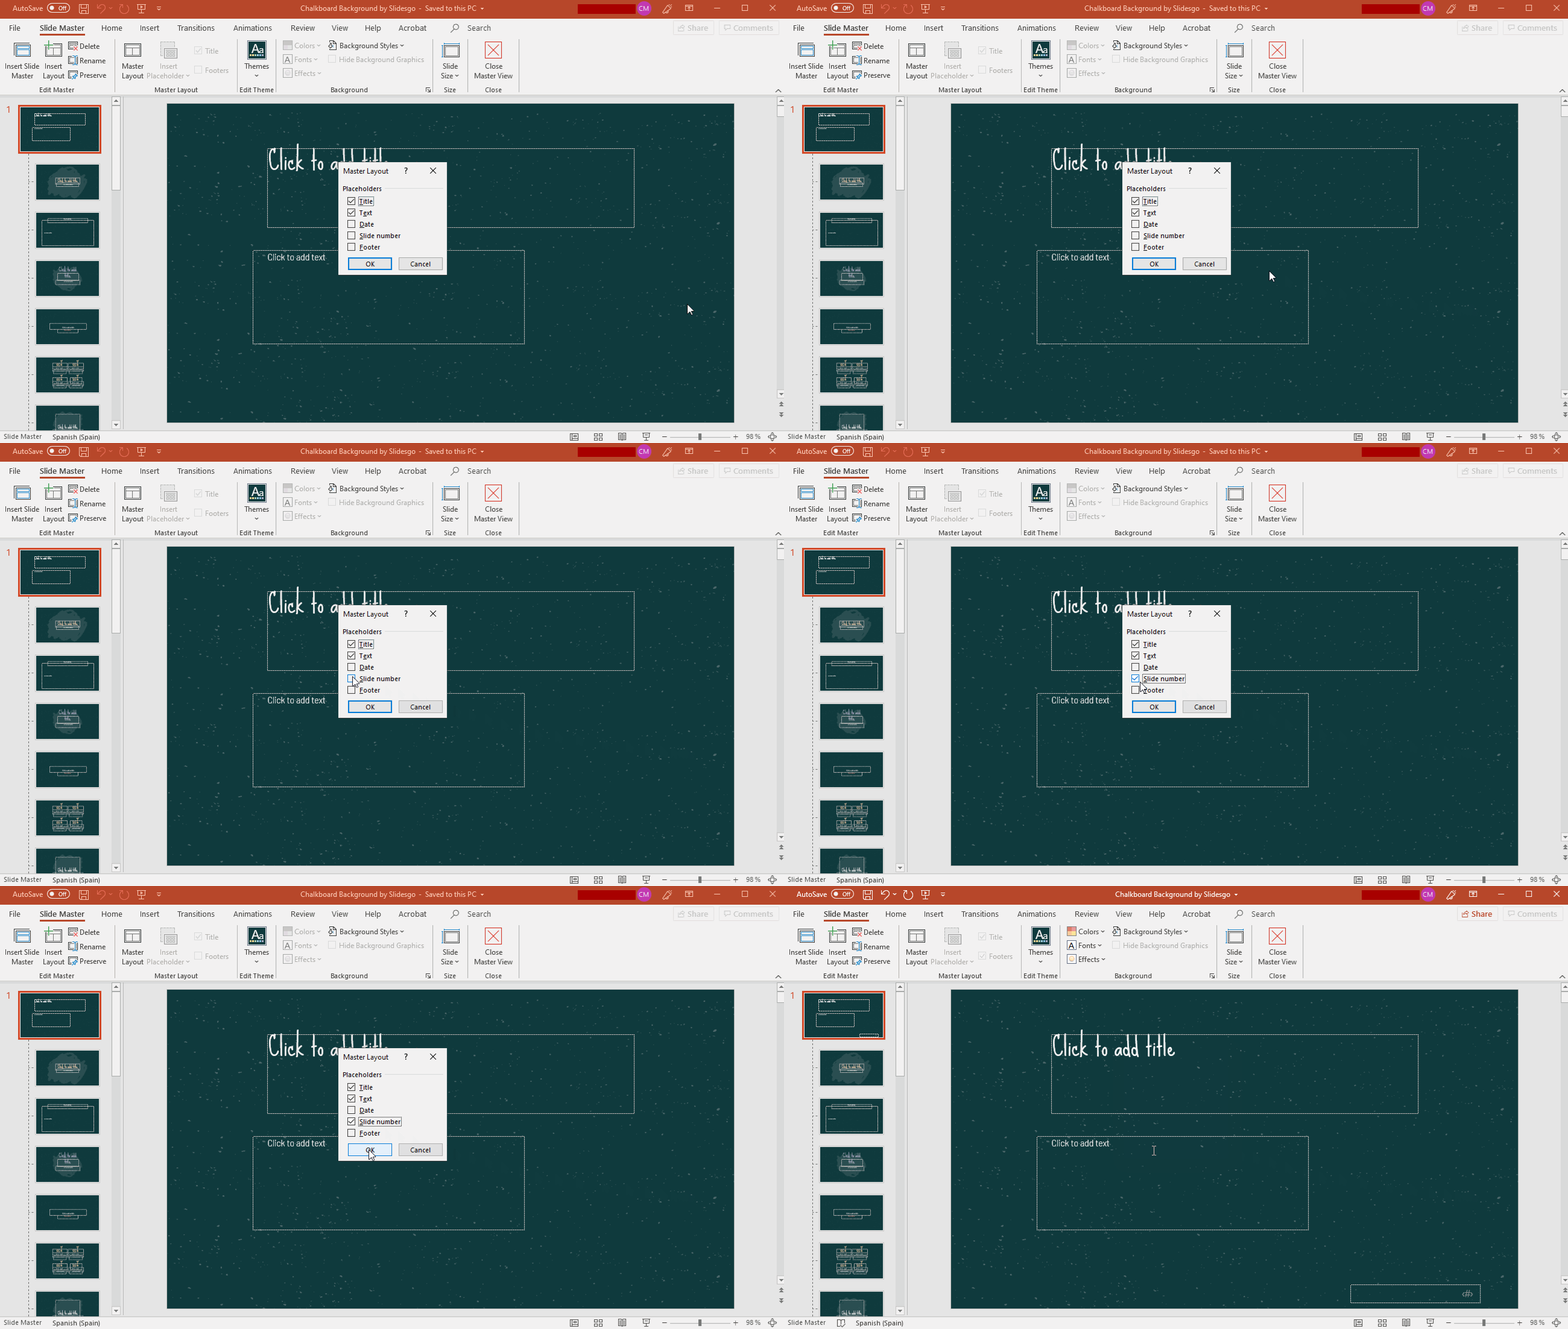
- For this box to appear in all the slides, make sure you check “Footers”, located in the Master Layout group, on the Slide Master tab. This box needs to be checked for all the layout masters (please note that selecting multiple layout masters at the same time and checking this box doesn’t work as intended, since the change will be applied only to the current layout master).
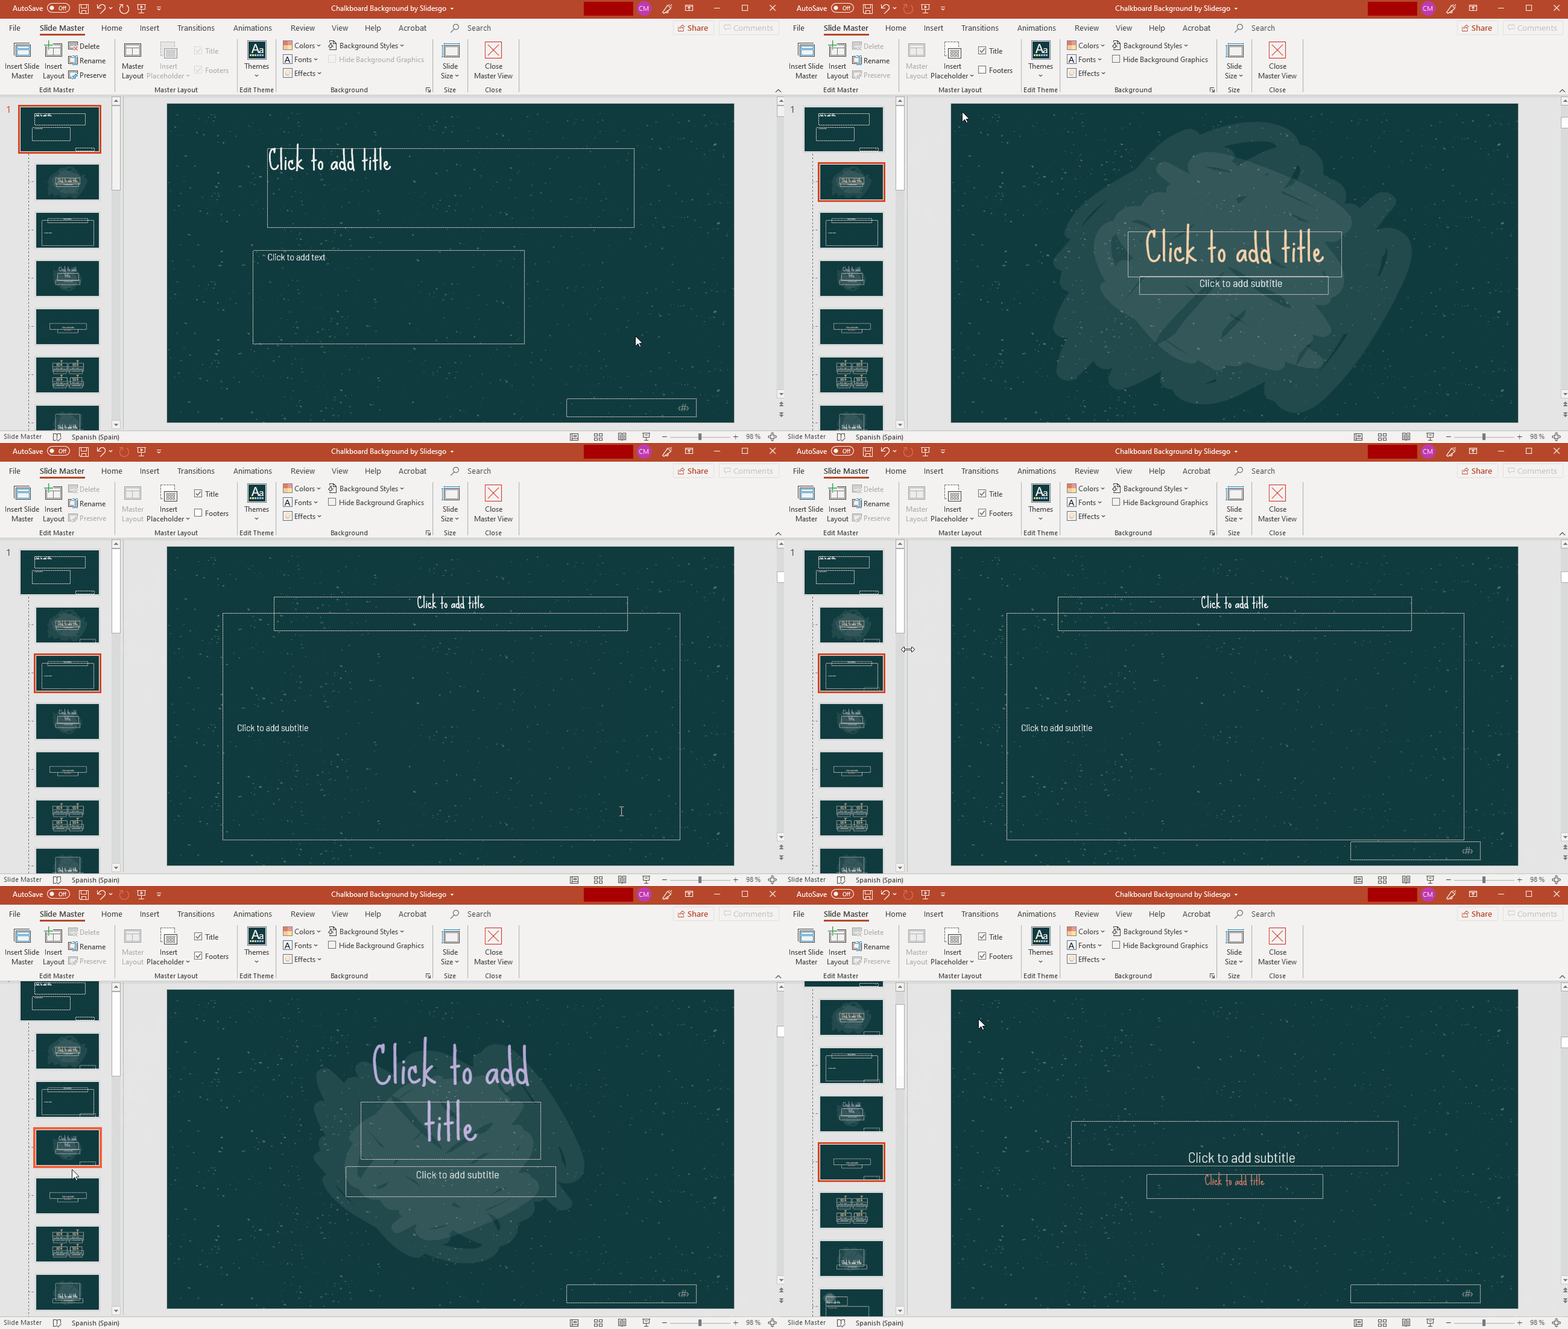
- Now you can enable slide numbers as explained in the first section of this tutorial.
