
A good way to have your content well organized in your presentation to make it look clean and nicely arranged is to add lists. In this tutorial, you’ll learn how to add bulleted or numbered lists to your PowerPoint presentations and how to customize them to adapt them to your needs.
Creating a List
- Select the text or text box where you want to add a list.
- Go to the toolbar and click the Bullets or Numbering button to create a list of that respective type.

- Once you’ve created a list, to close it just press Enter and then Backspace.
- If you want to start a sublist inside a list, press Tab. To go back to the main list, create a new line and reduce the indent.

- You can take any line to a sublist or return it to the main list by pressing the Increase List Level or Decrease List Level button respectively.

Changing the Format of a List
- Select the text in a list.
- Go to the toolbar and click either the Bullets or Numbering drop-down arrow. Then, click Bullets and Numbering…

- On the Bulleted tab, choose any of the presets or click Customize to select a symbol.

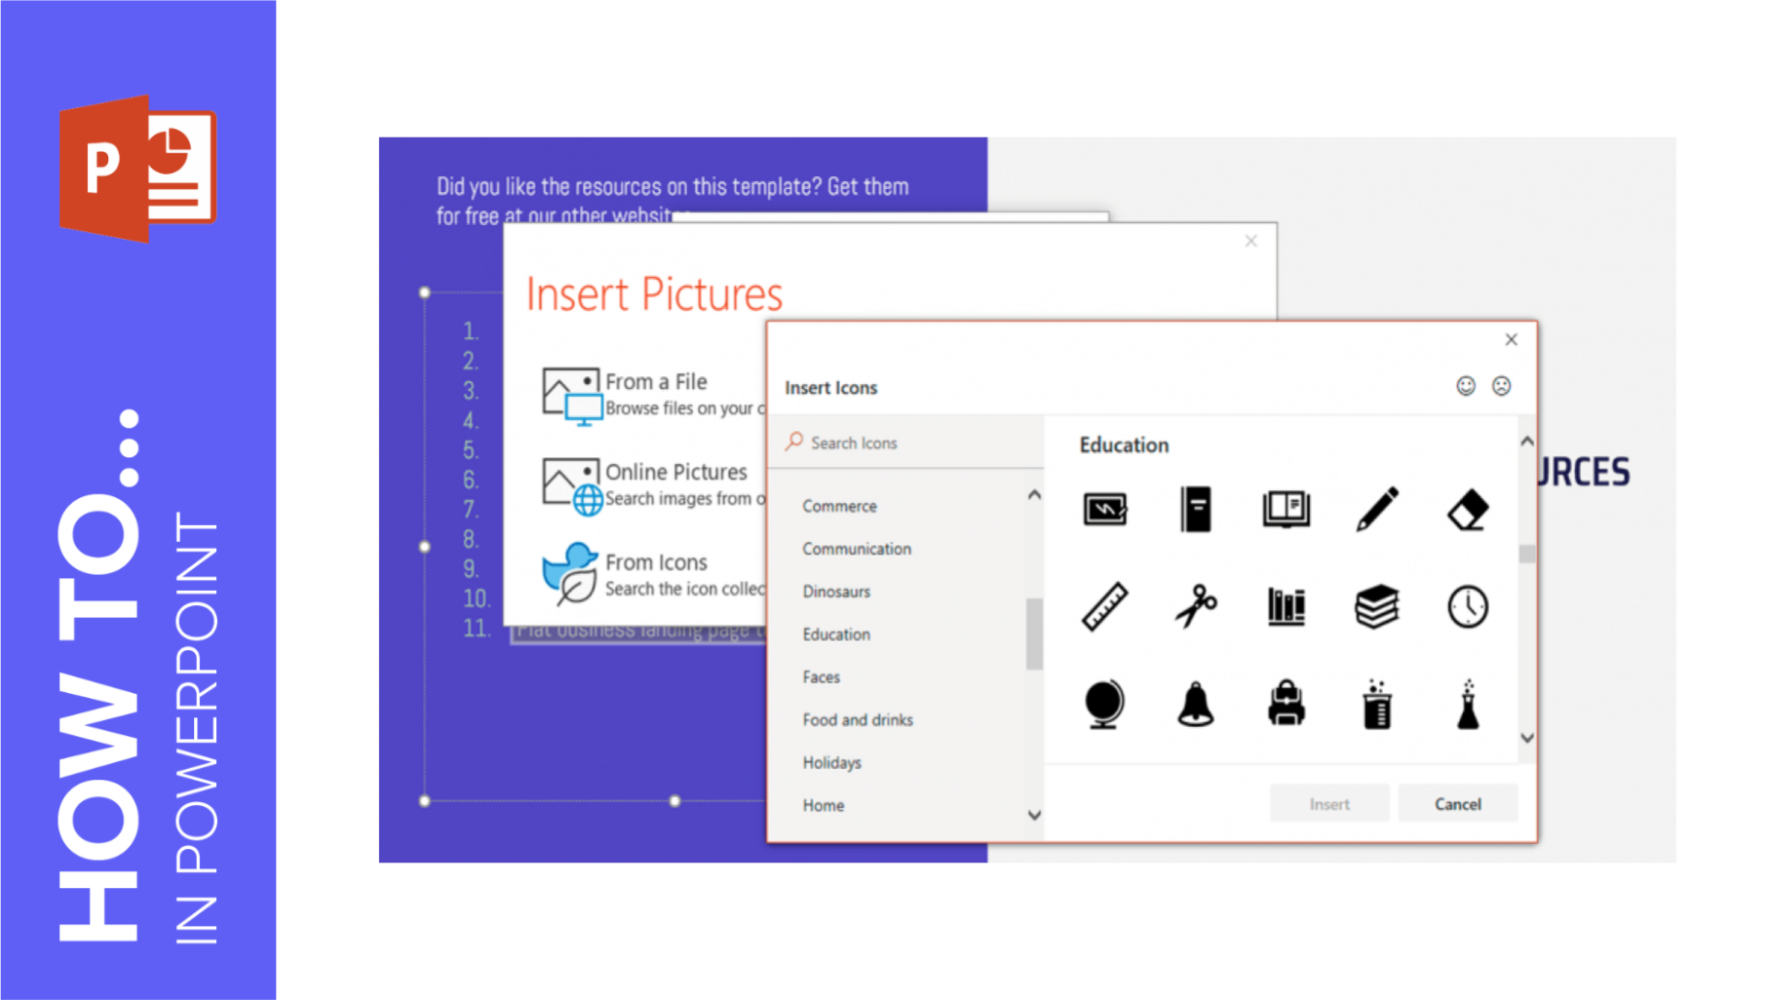
- If you want to use an icon or an image as bullets, click Picture… and select the file from your computer, PowerPoint’s collection of icons or from the web (some of these options might not appear depending on the version of PowerPoint you’re using). Remember that it must be a PNG file if you don’t want the background of that picture to appear too. If you need PNG icons, we recommend visiting Flaticon.

- On the Numbered tab, you can choose the format of the list and the starting number.

- On both tabs you’ll find options to set the size and the color of the bullets or numbers. Please note that you won’t be able to change the color of the bullets if you use custom icons.
