
Grouping shapes or images in PowerPoint allows us to move or apply an effect to multiple elements at the same time. In this new GreatPPT School tutorial, you’ll learn how to group images or shapes in PowerPoint.
Grouping Elements
- Run PowerPoint.
- Go to the slide with the elements you want to group. They must be in the same slide (grouping elements in different slides is not possible).
- Hold Ctrl (Windows) or Cmd (Mac) and select the elements that you want to group one by one.

- Once selected, go to the Shape Format tab (if you’ve selected only shapes, or shapes and images) or the Picture Format tab (if you’ve selected only images). If you’re not using Office 365, these tabs are called Format (under “Drawing Tools” or “Picture Tools”, respectively).
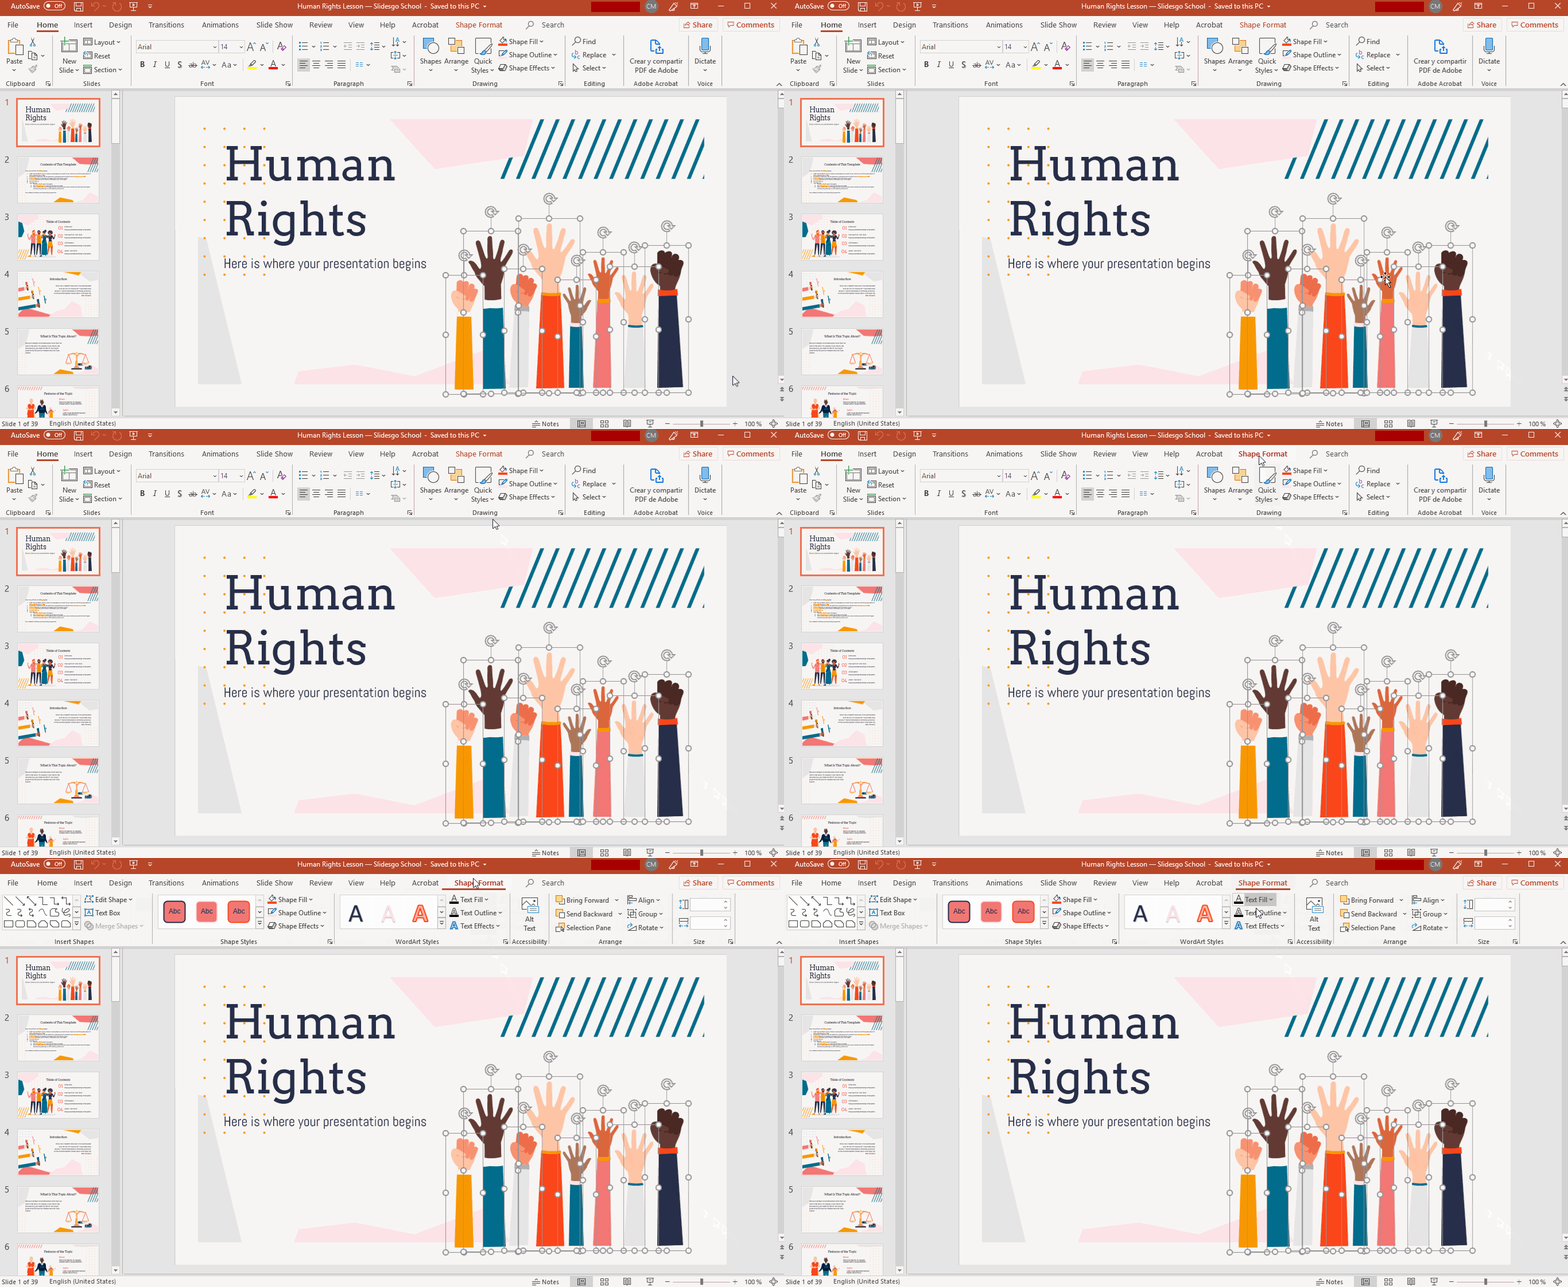
- In the Arrange group, click Group → Group.
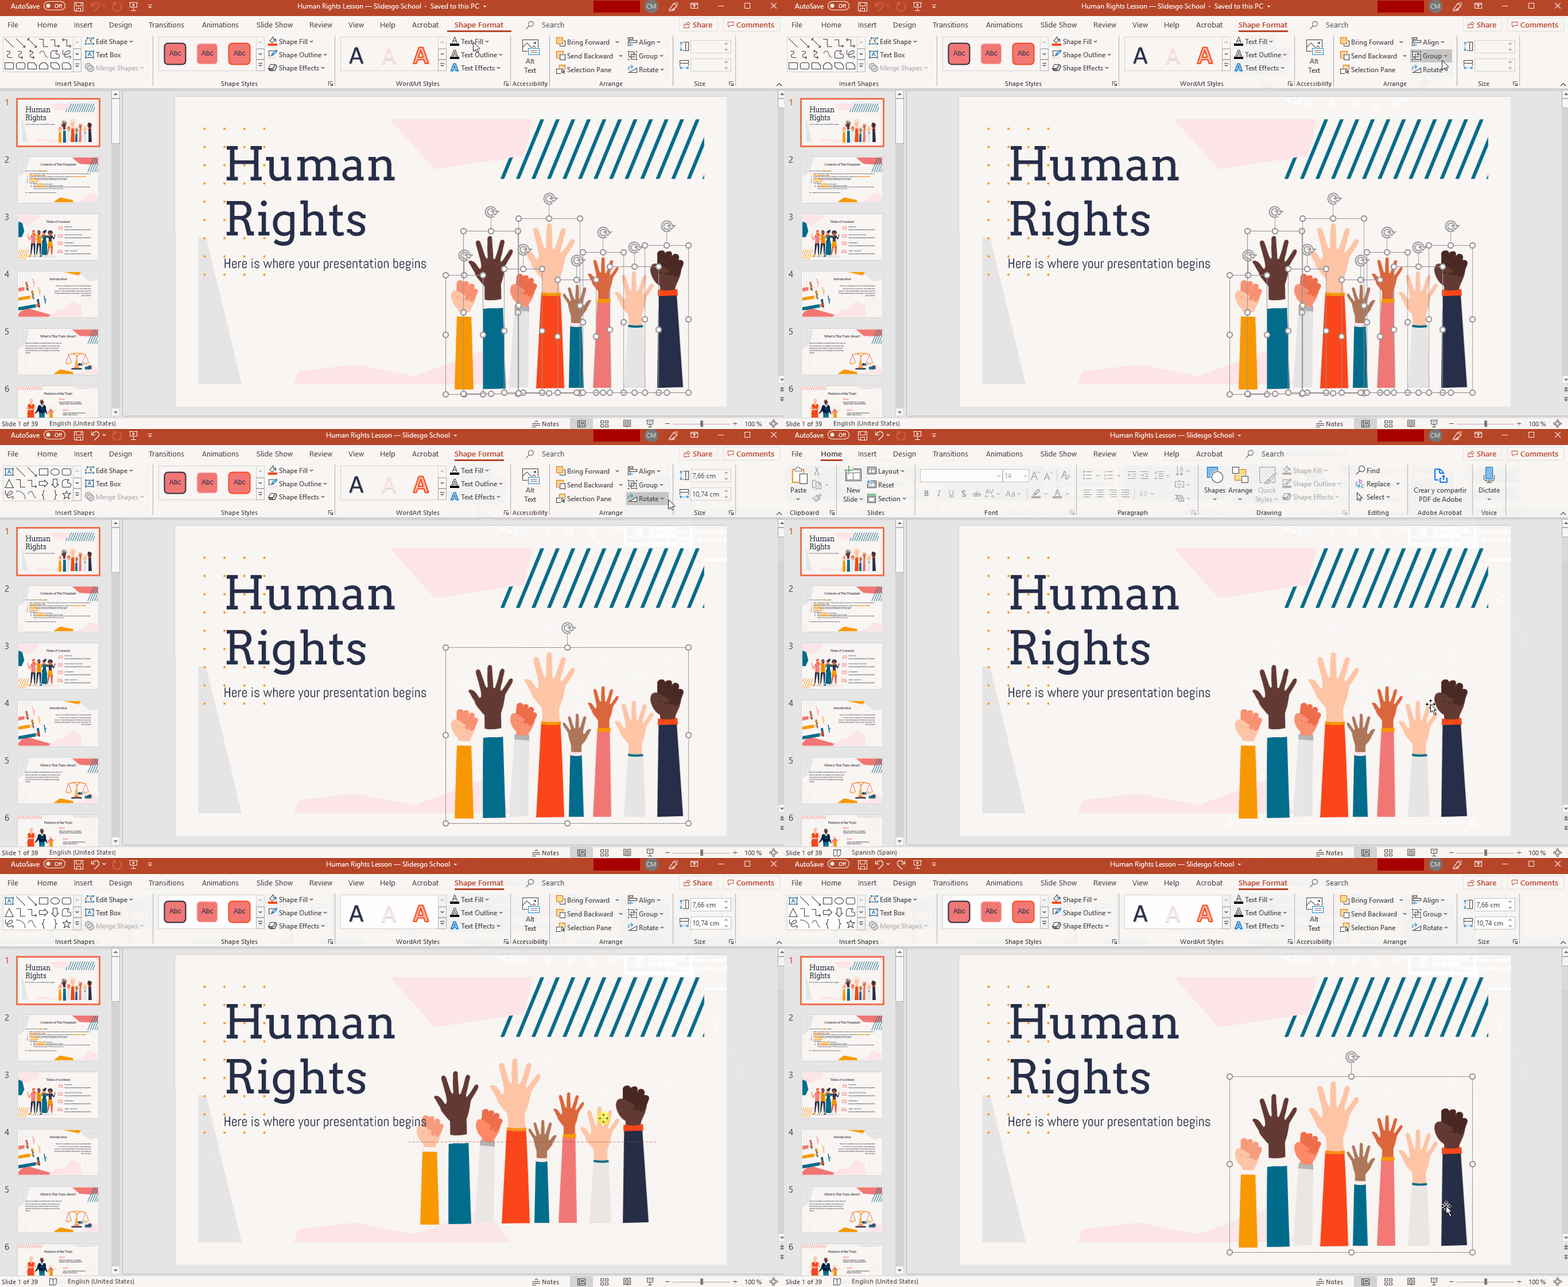
- You can also right-click the selected elements → Group → Group.
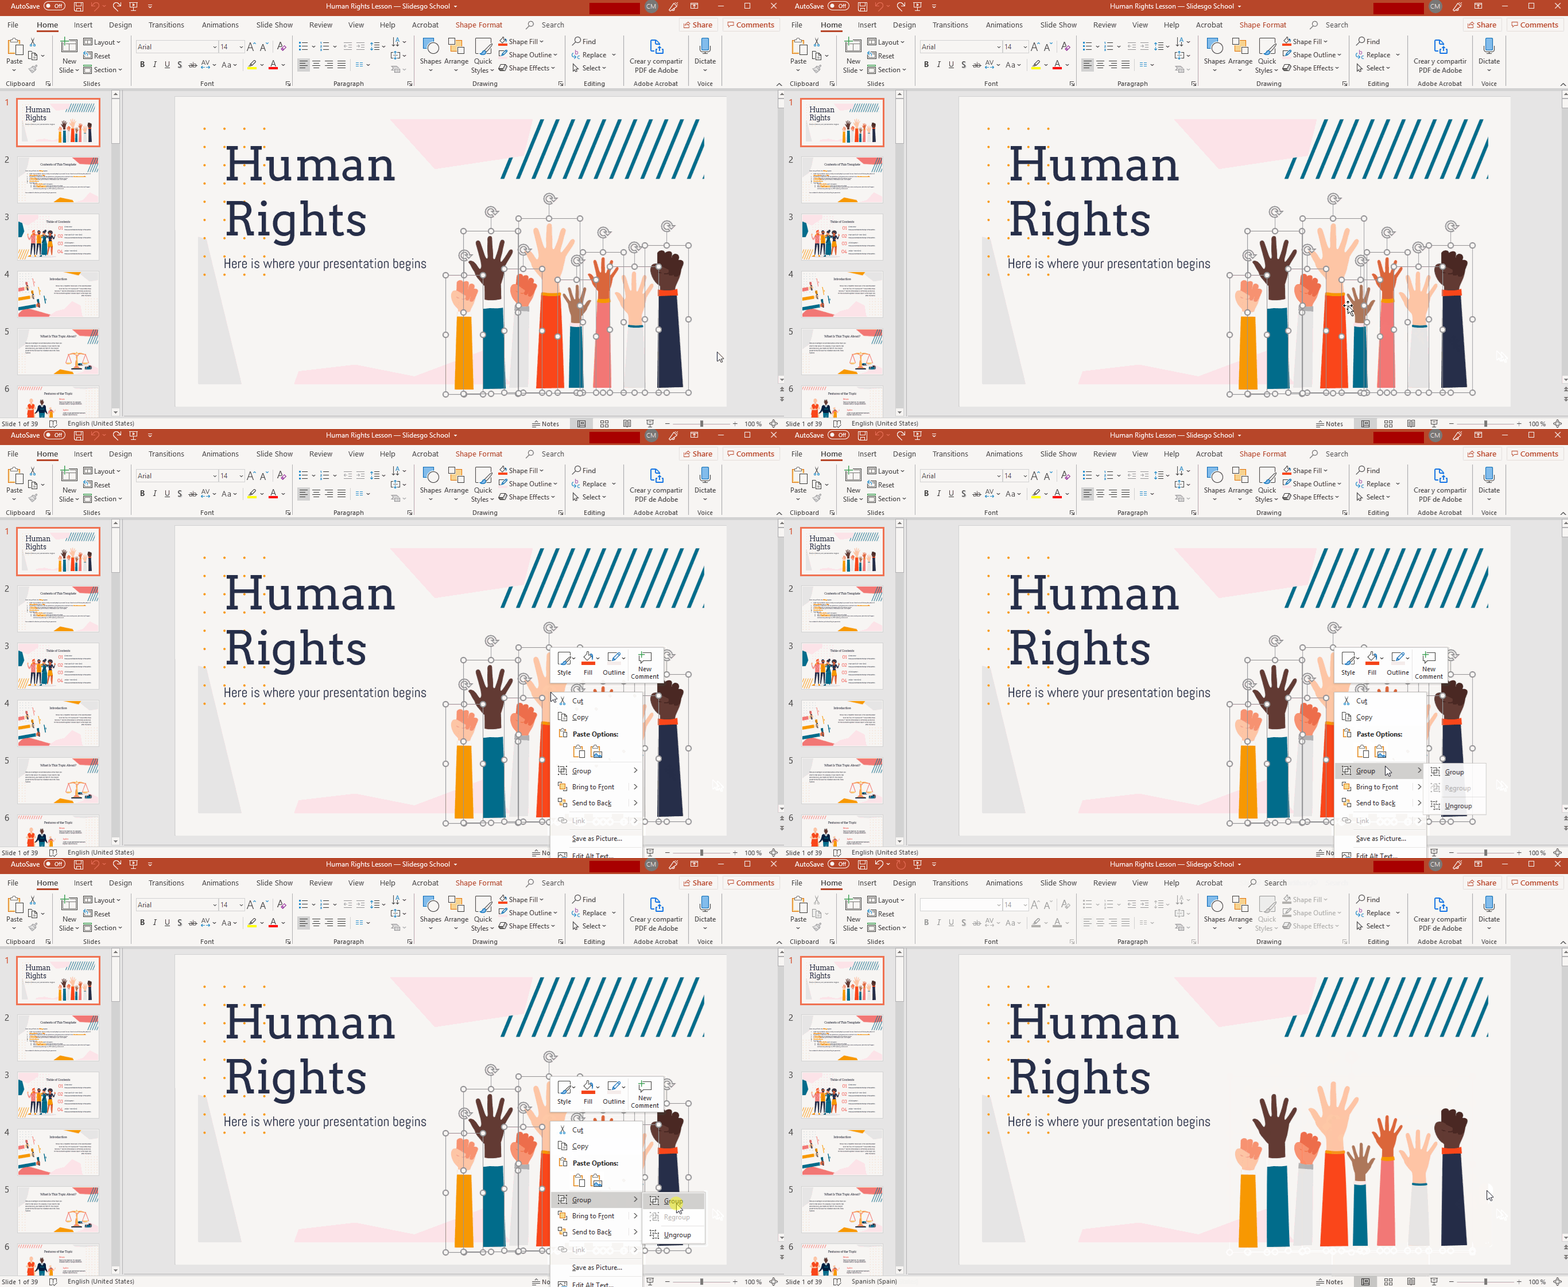
Ungrouping Elements
- Run PowerPoint.
- Go to the slide with the group of elements you want to ungroup and select it. Then, go to the Shape Format tab or the Picture Format tab (depending on the elements that make up the group). If you’re not using Office 365, both tabs are called Format (under “Drawing Tools” or “Picture Tools”, respectively).

- In the Arrange group, click Group → Ungroup.
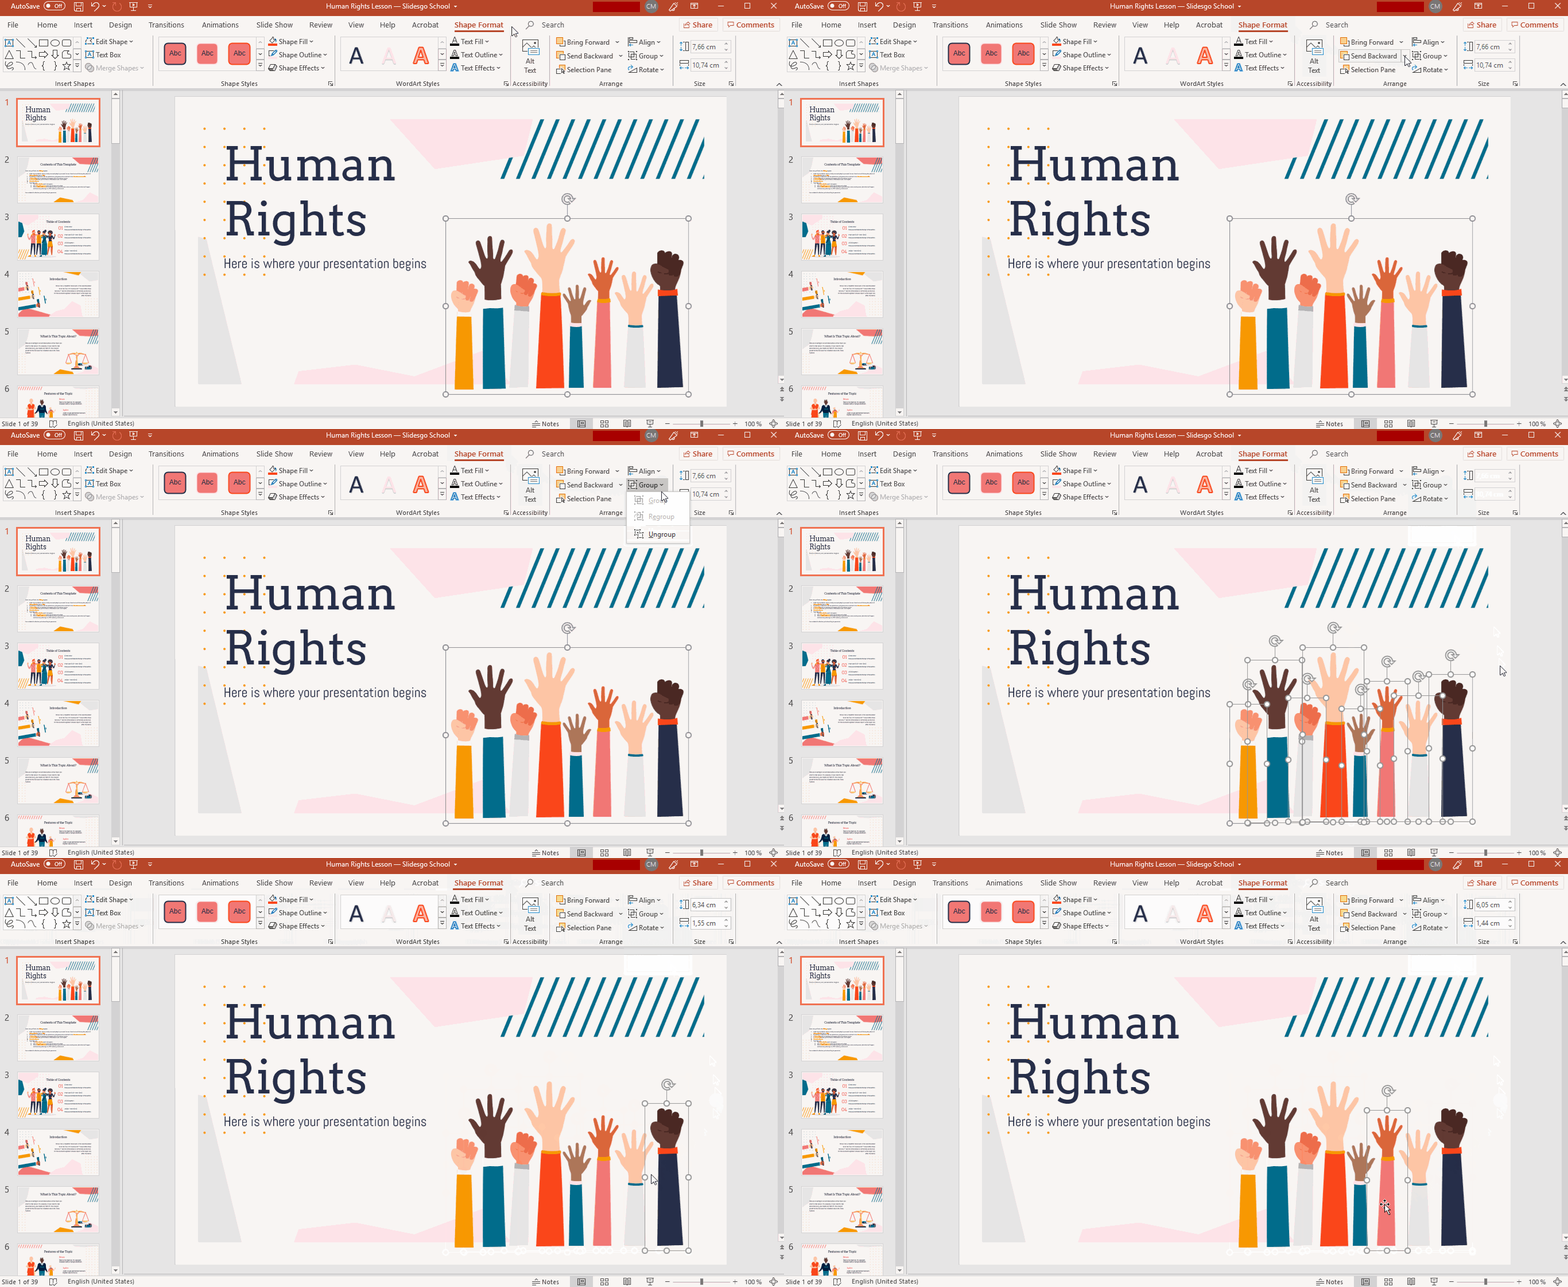
- You can also right-click the group → Group → Ungroup.

Regrouping Elements
If you’ve ungrouped some elements and you want to group them again, you can do so with the Regroup option. Follow these steps:
- Go to the slide where the elements that you want to regroup are located.
- Select one of the elements. You don’t need to select them all. Then go to the Shape Format tab or the Picture Format tab (depending on the element you’ve selected). If you’re not using Office 365, both tabs are called Format (under “Drawing Tools” or “Picture Tools”, respectively).

- In the Arrange group, click Group → Regroup.
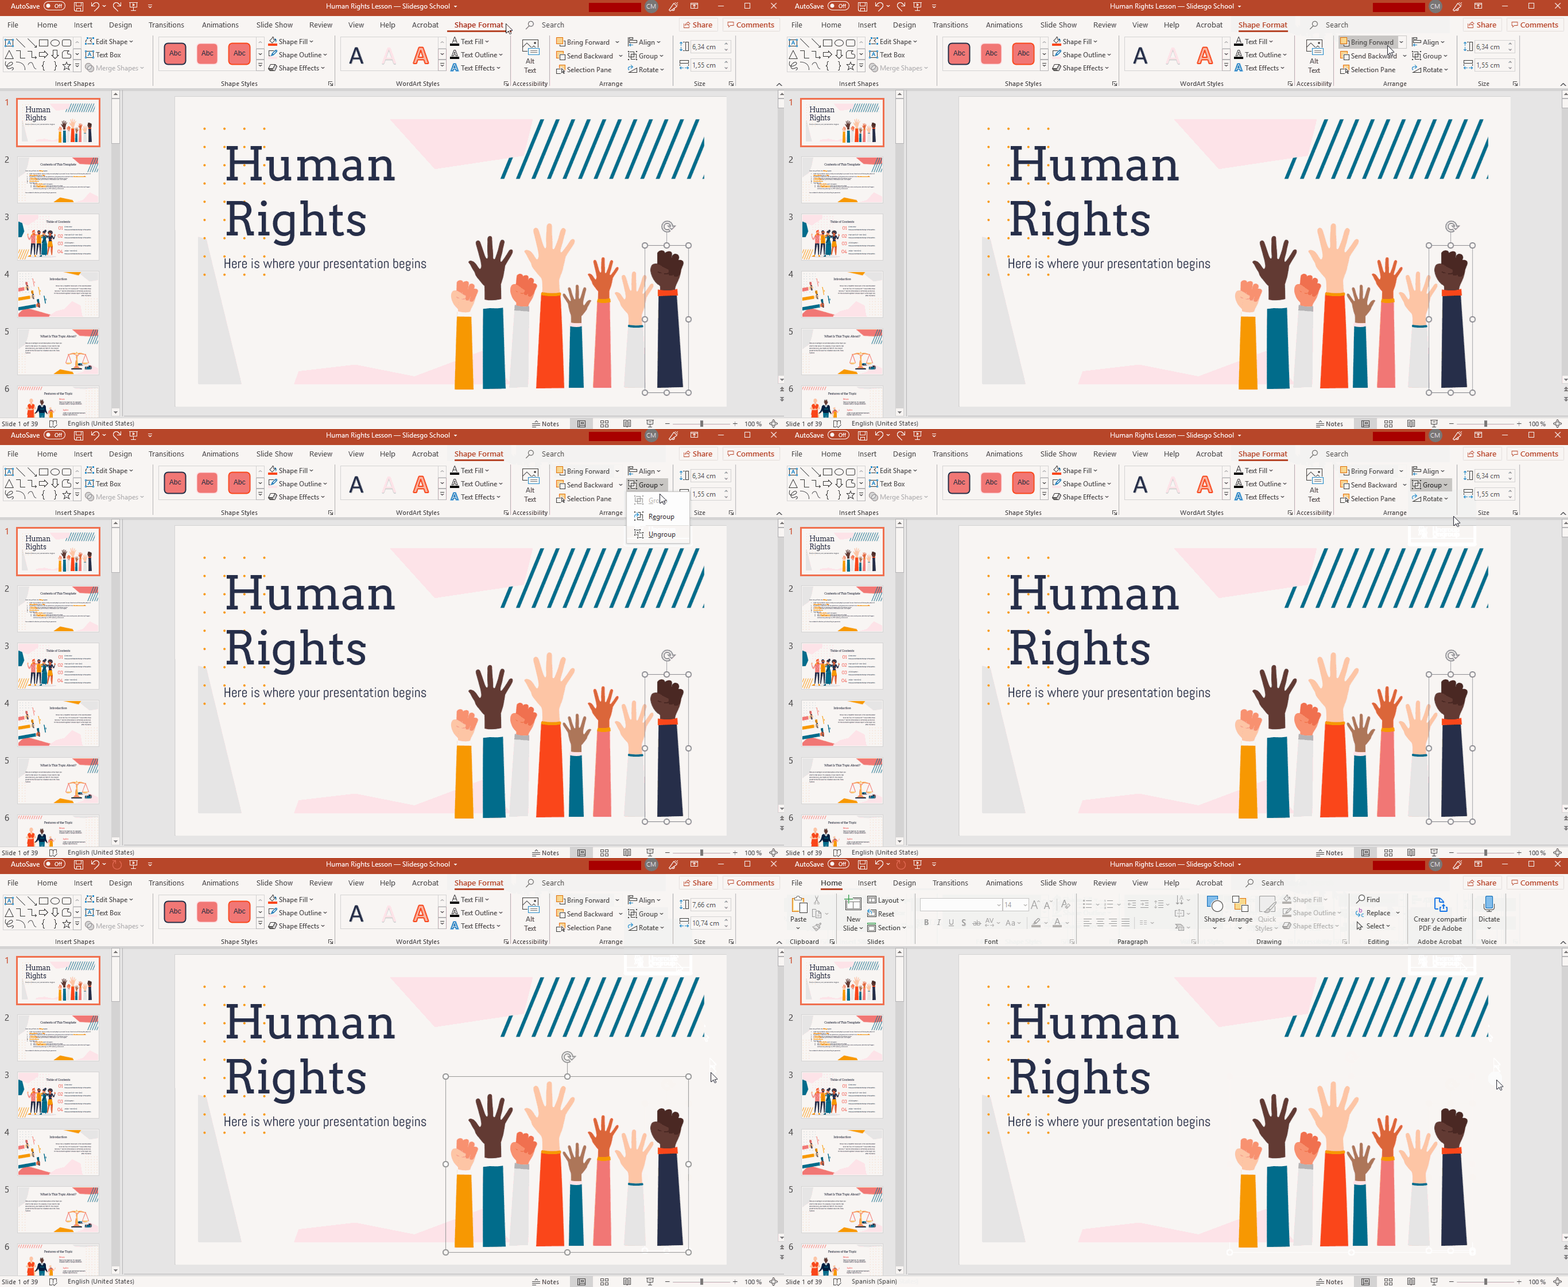
- You can also right-click the selected element → Group → Regroup.

