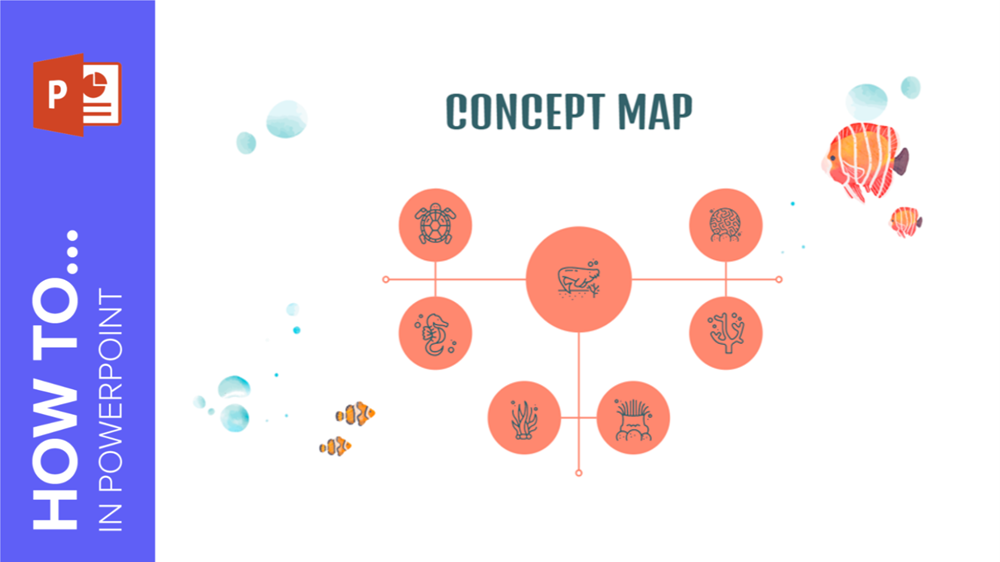
It’s estimated that 65 percent of humans are visual learners. That goes without saying that it is often easier to explain complicated concepts with visual aids than text. That’s where a concept map comes into play. In this GreatPPT School tutorial, we’ll teach you how to make a concept map in PowerPoint.
During a presentation, time is limited to capture and hold your audience’s attention, and conveying complex ideas can be challenging. Concept maps facilitate the visualization of information, making it easier to understand. Simply put, concept maps are diagrams that illustrate the relationships between different ideas.
Creating the main concept or idea
- Open your PowerPoint presentation.
- Go to the slide you want to create the concept map in.
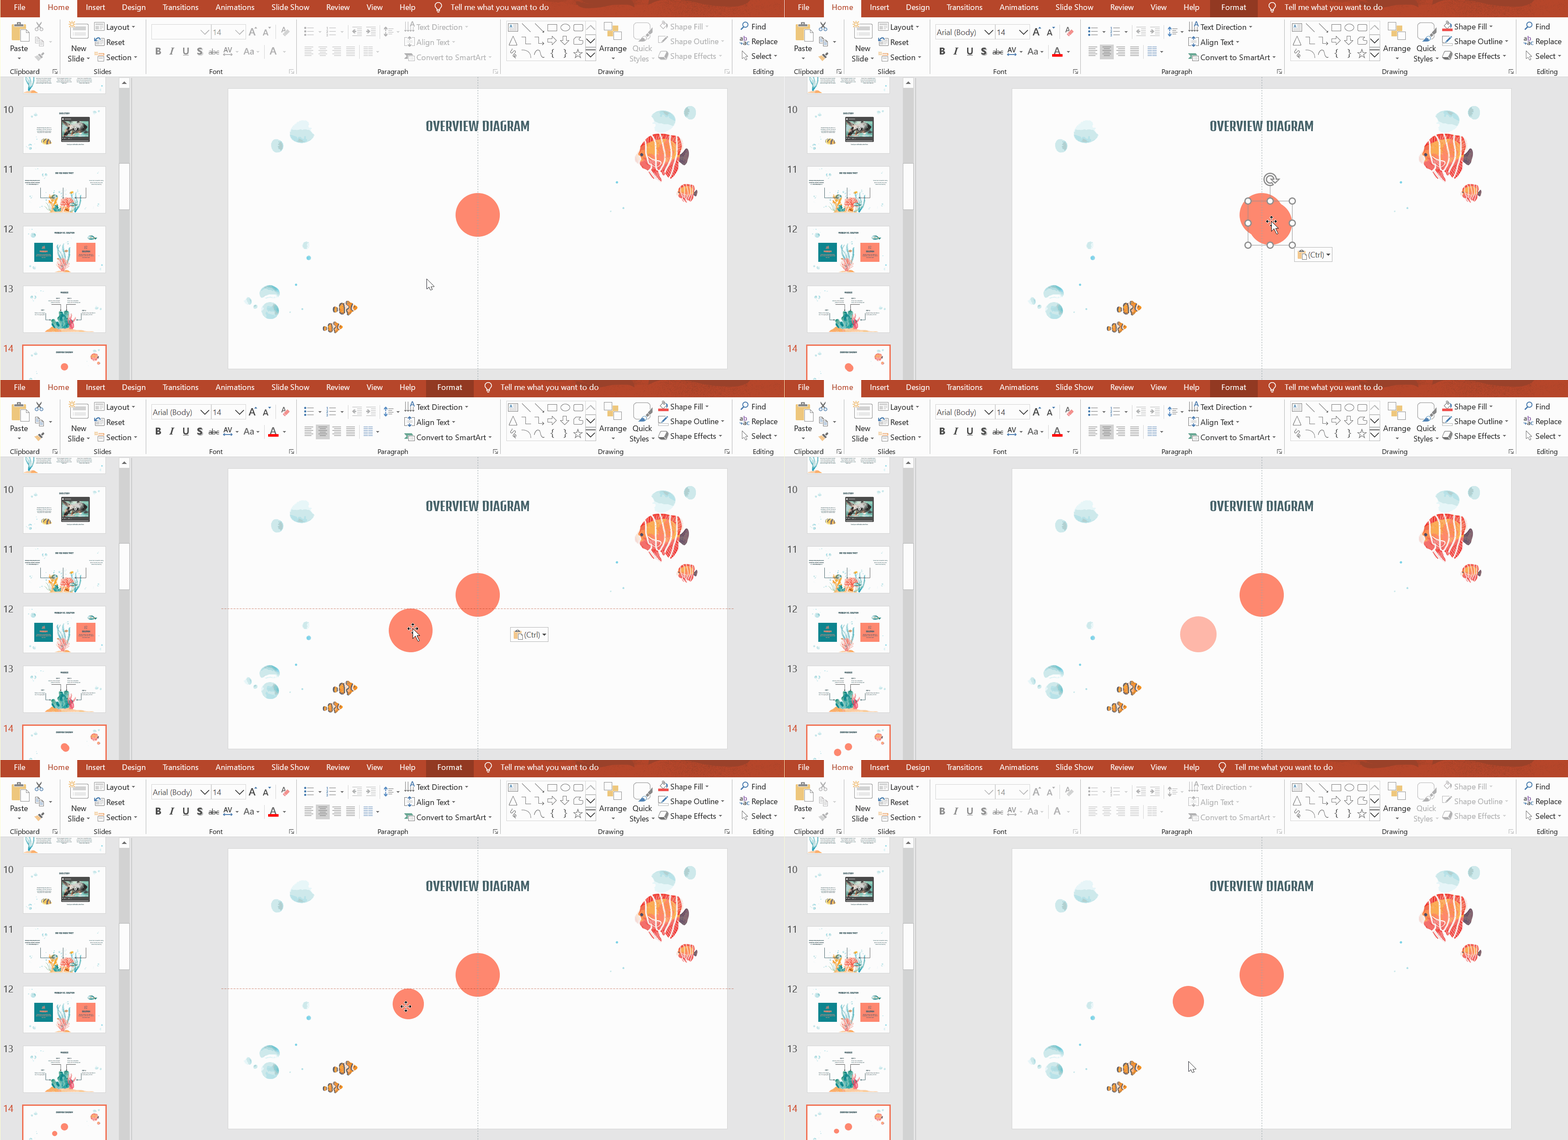
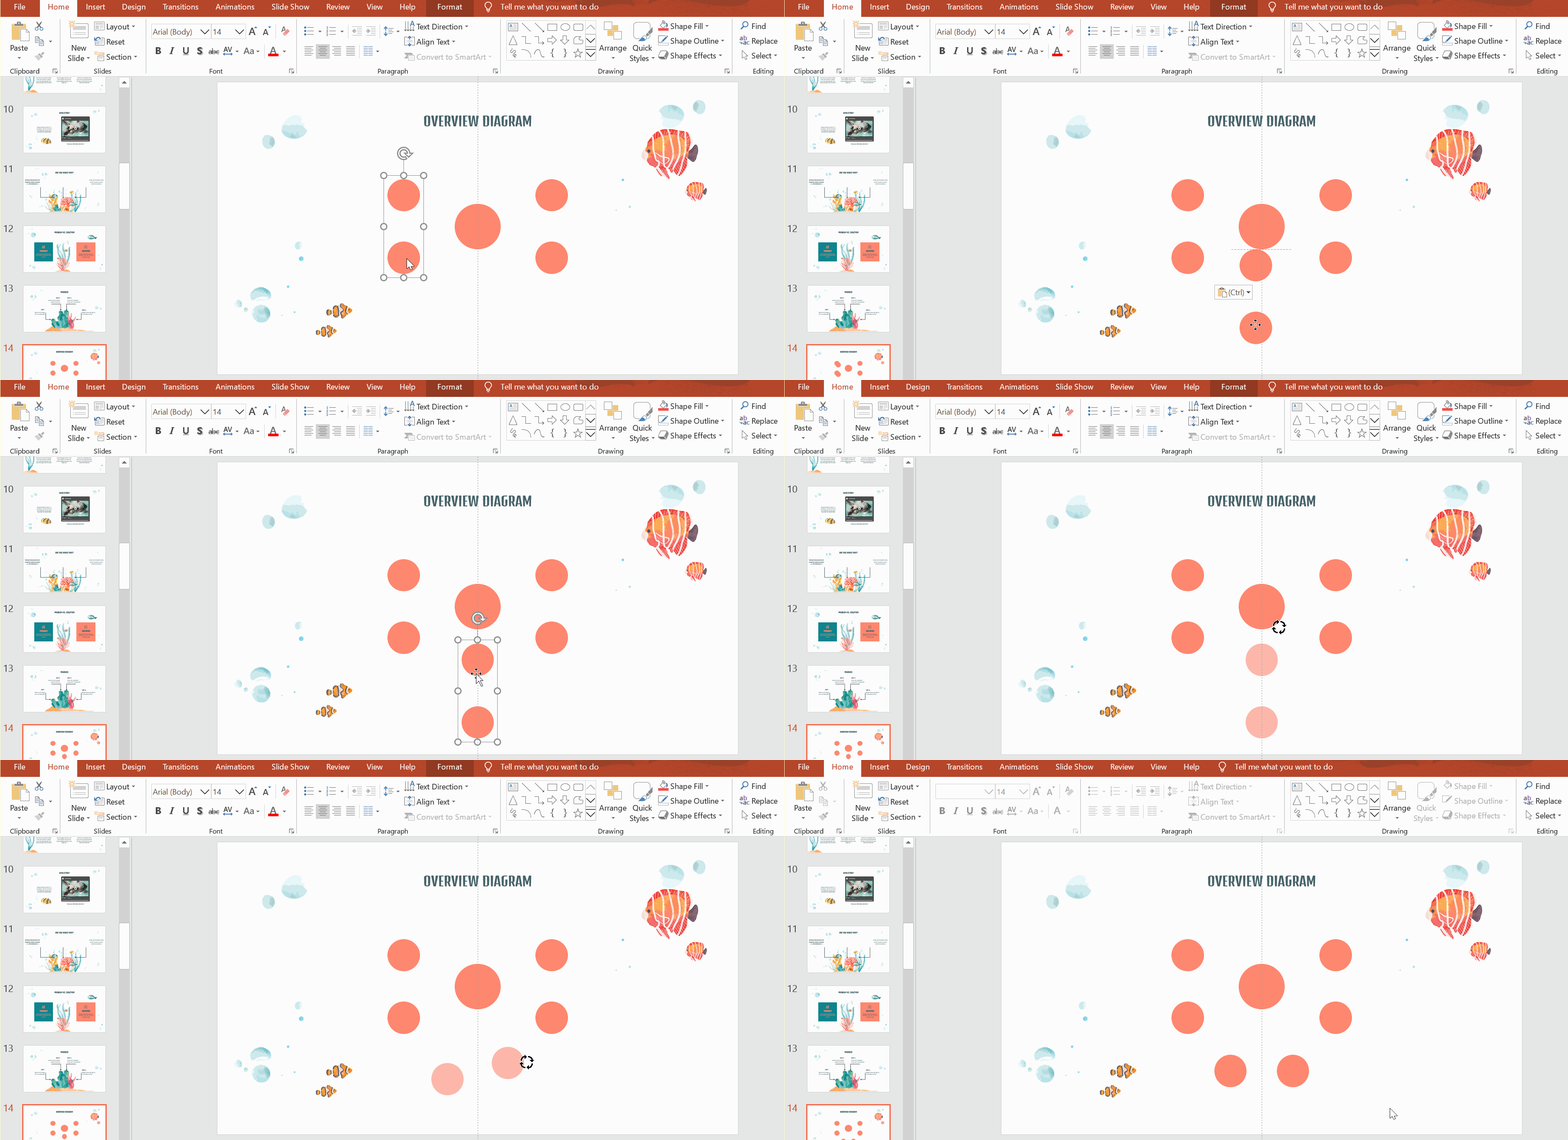
- Select Oval in the Drawing section and drag it out to create a circle. This will represent the main idea of your concept map. For proper alignment and placement, use the vertical line running across the slide as reference and support.
Pro tip: Hold Shift while dragging to create a nicely rounded circle.
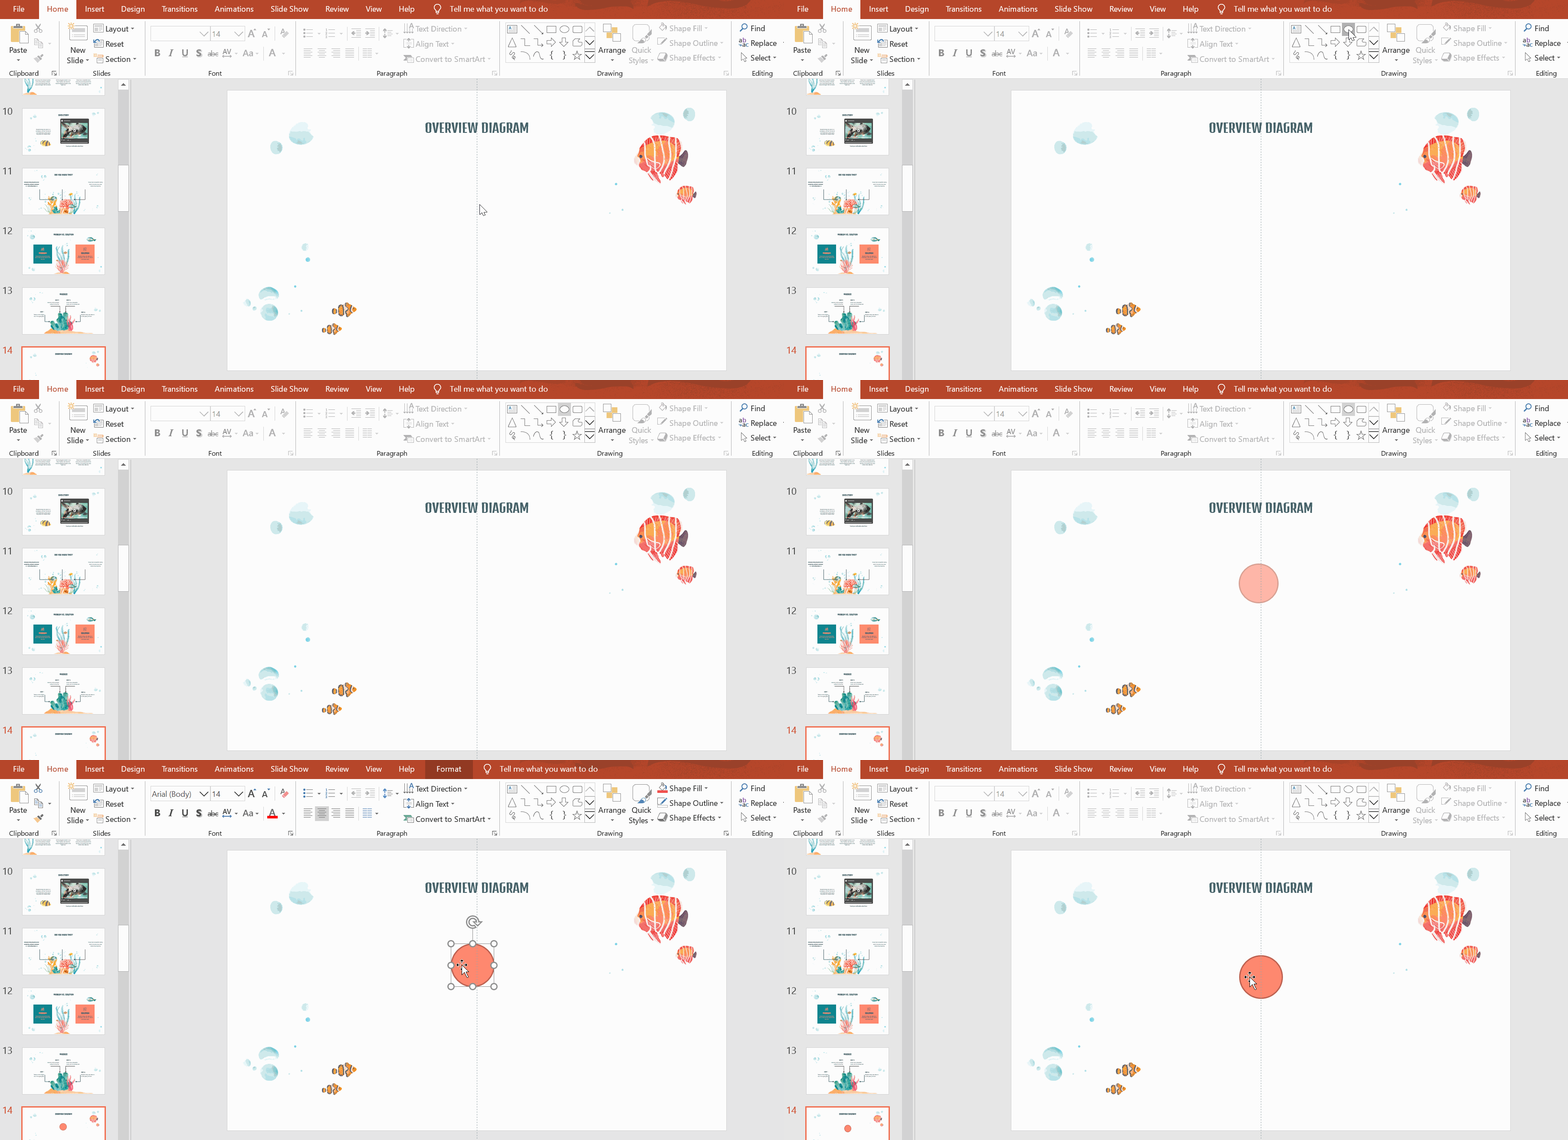
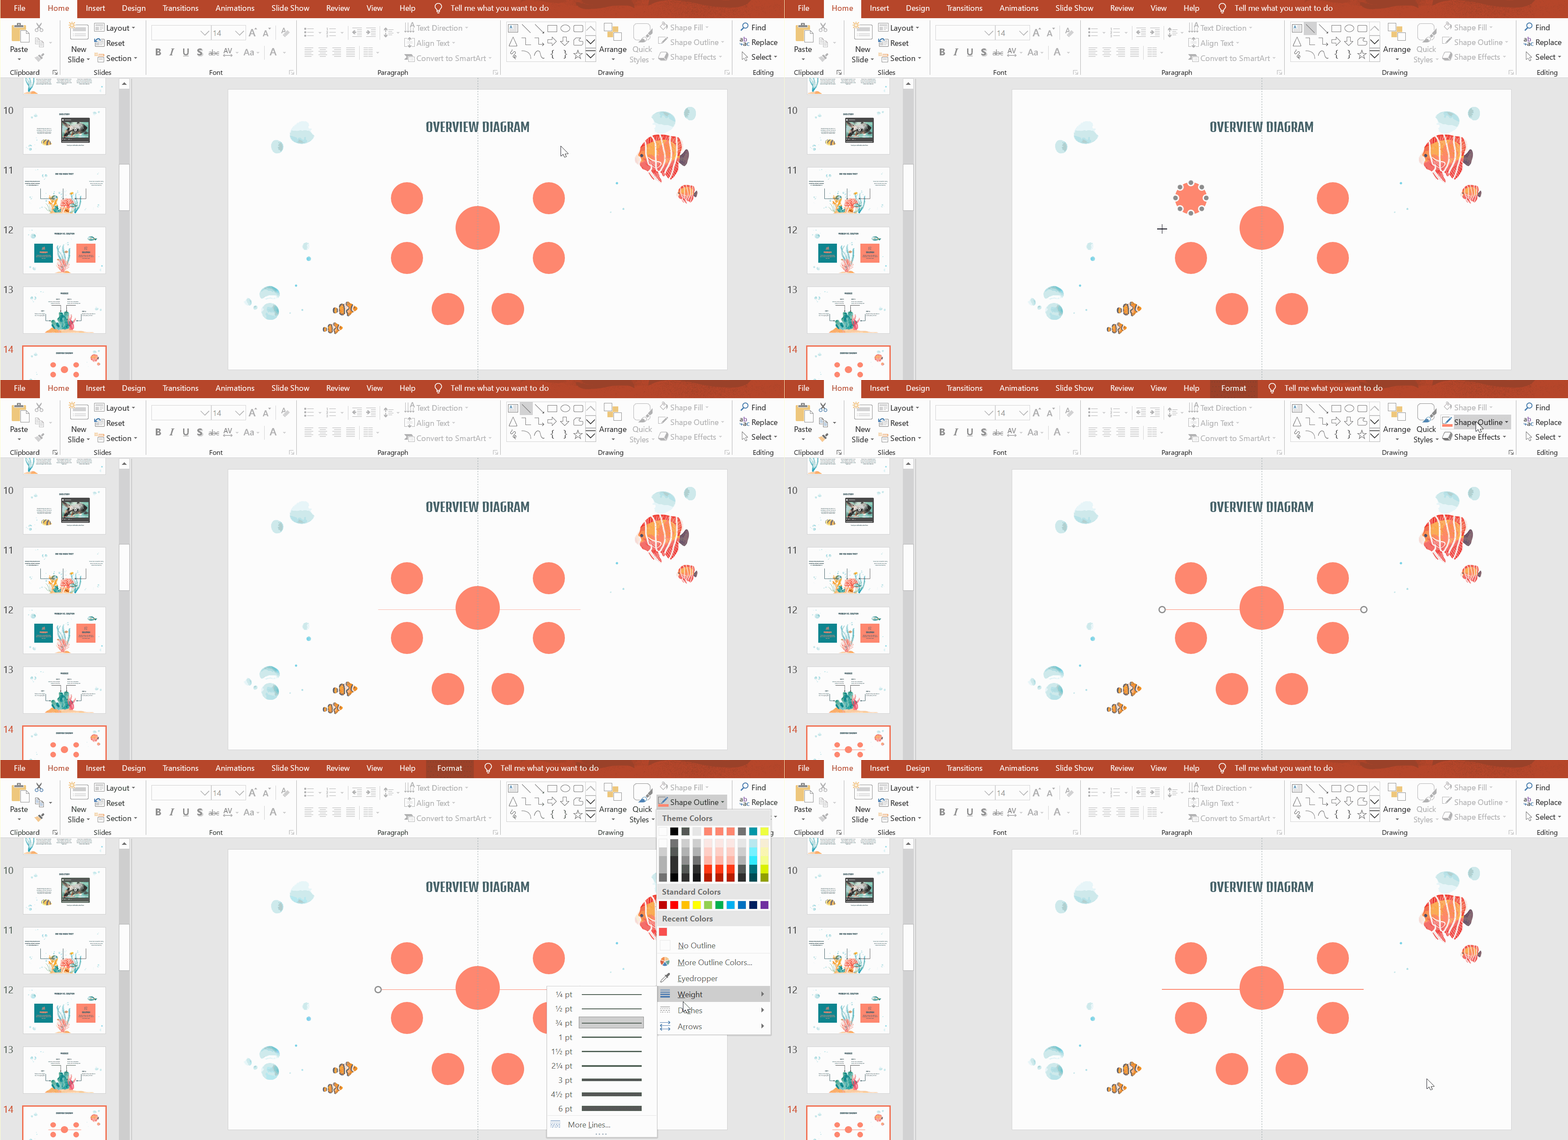
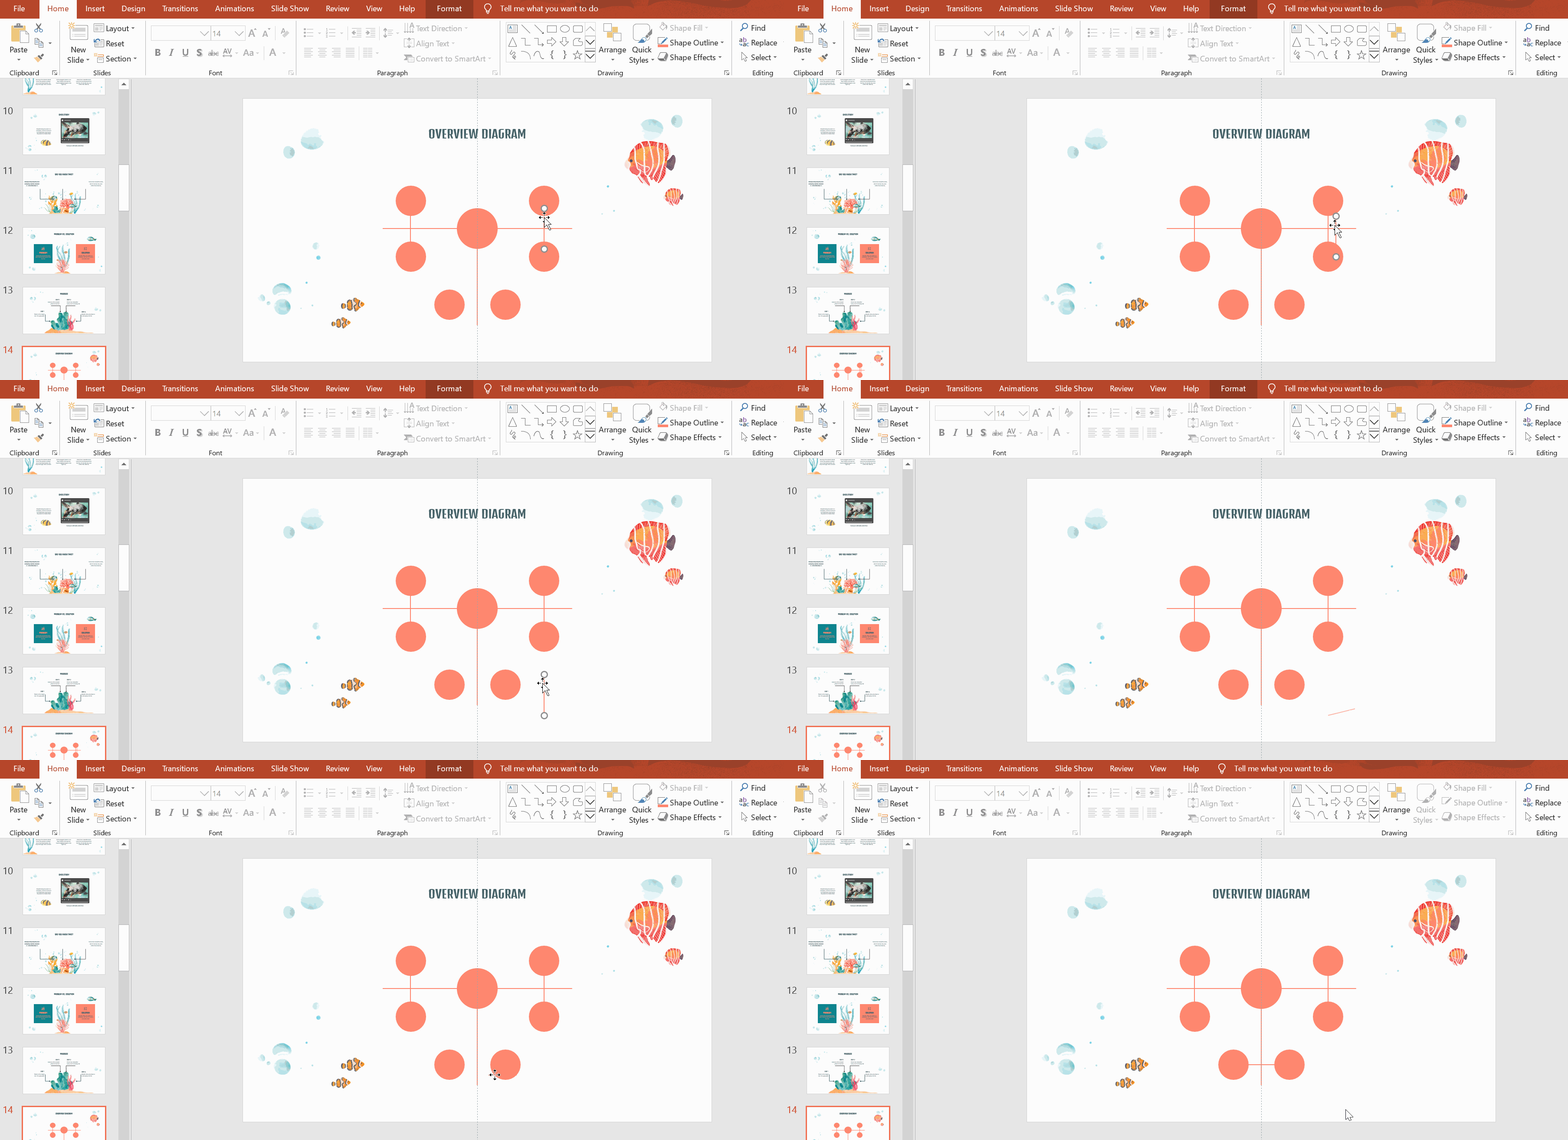
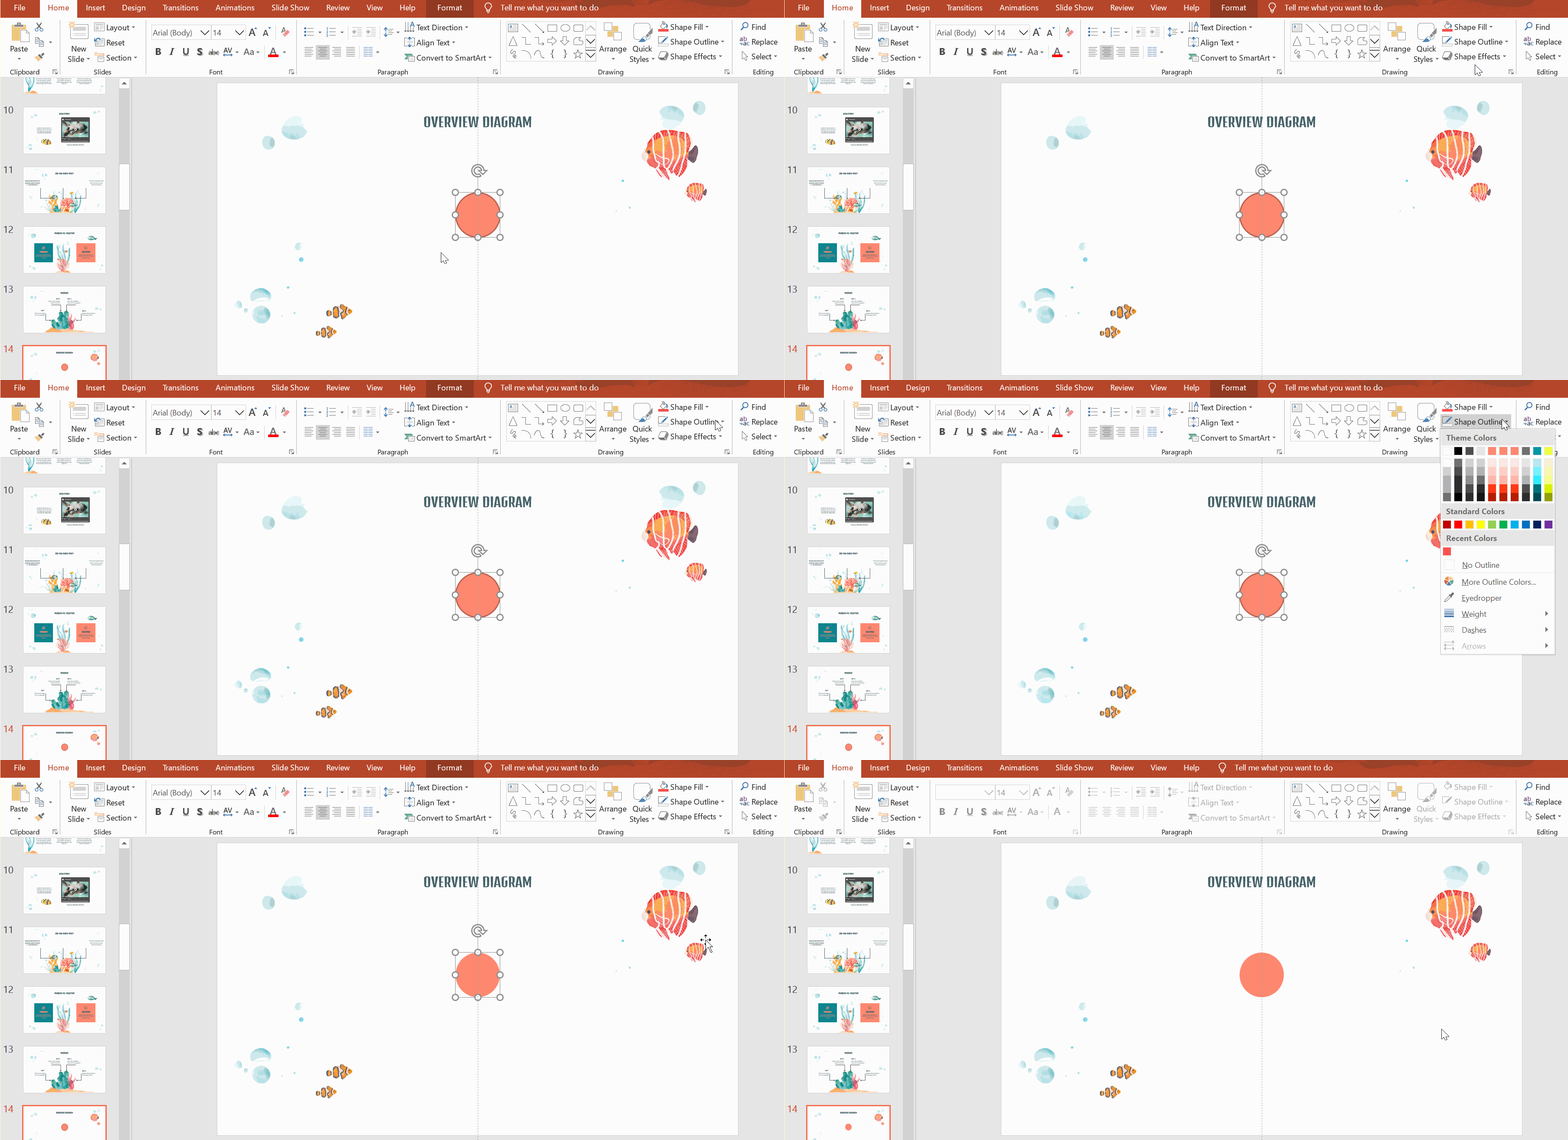
- Style your circle with the options Shape Fill and Shape Outline. For a smooth look, stick with theme colors and make the circle’s borders transparent by selecting Shape Outline and choosing No Outline.
Adding titles to the nodes
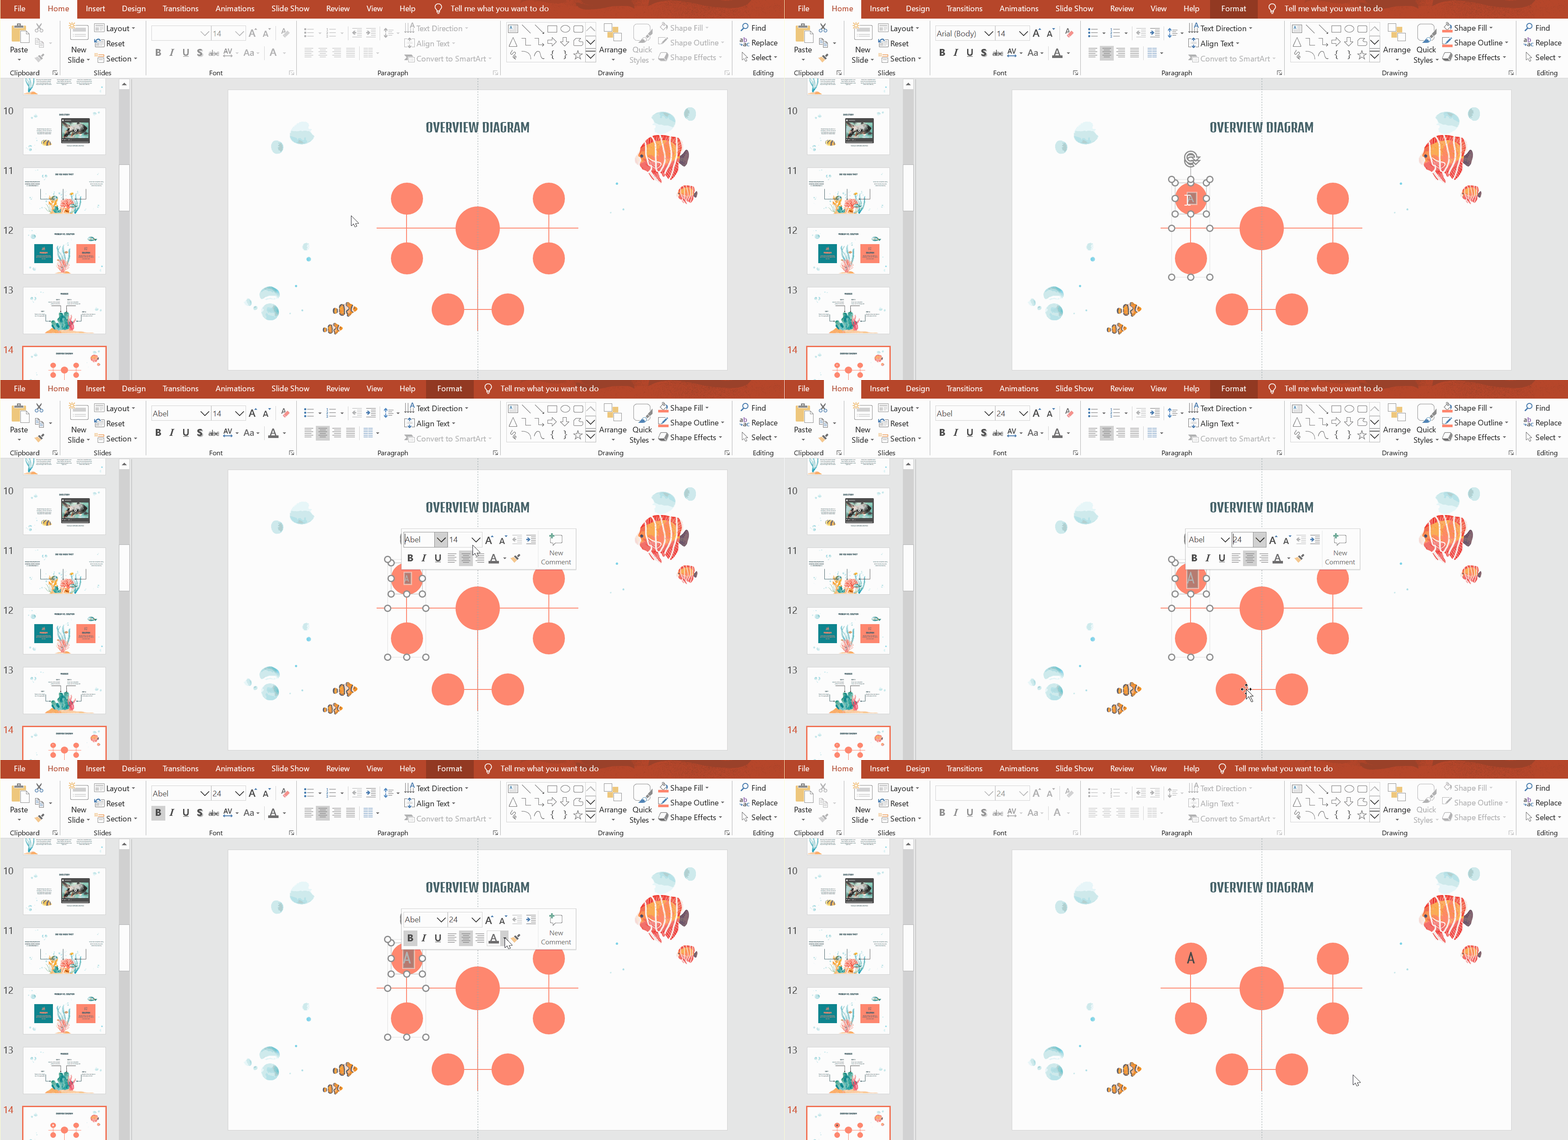
- If you want to label the nodes, double click on the circle and start typing.
- Style the text by selecting it to display style options (Font, Font Size, Font Color, Alignment, etc.) and formatting options (Bold, Italic, Underline).
- Remember to keep your text centralized for a better look. Remember to maintain the color and style of the slides’ theme to produce a more consistent presentation.
Adding descriptive texts to a concept map
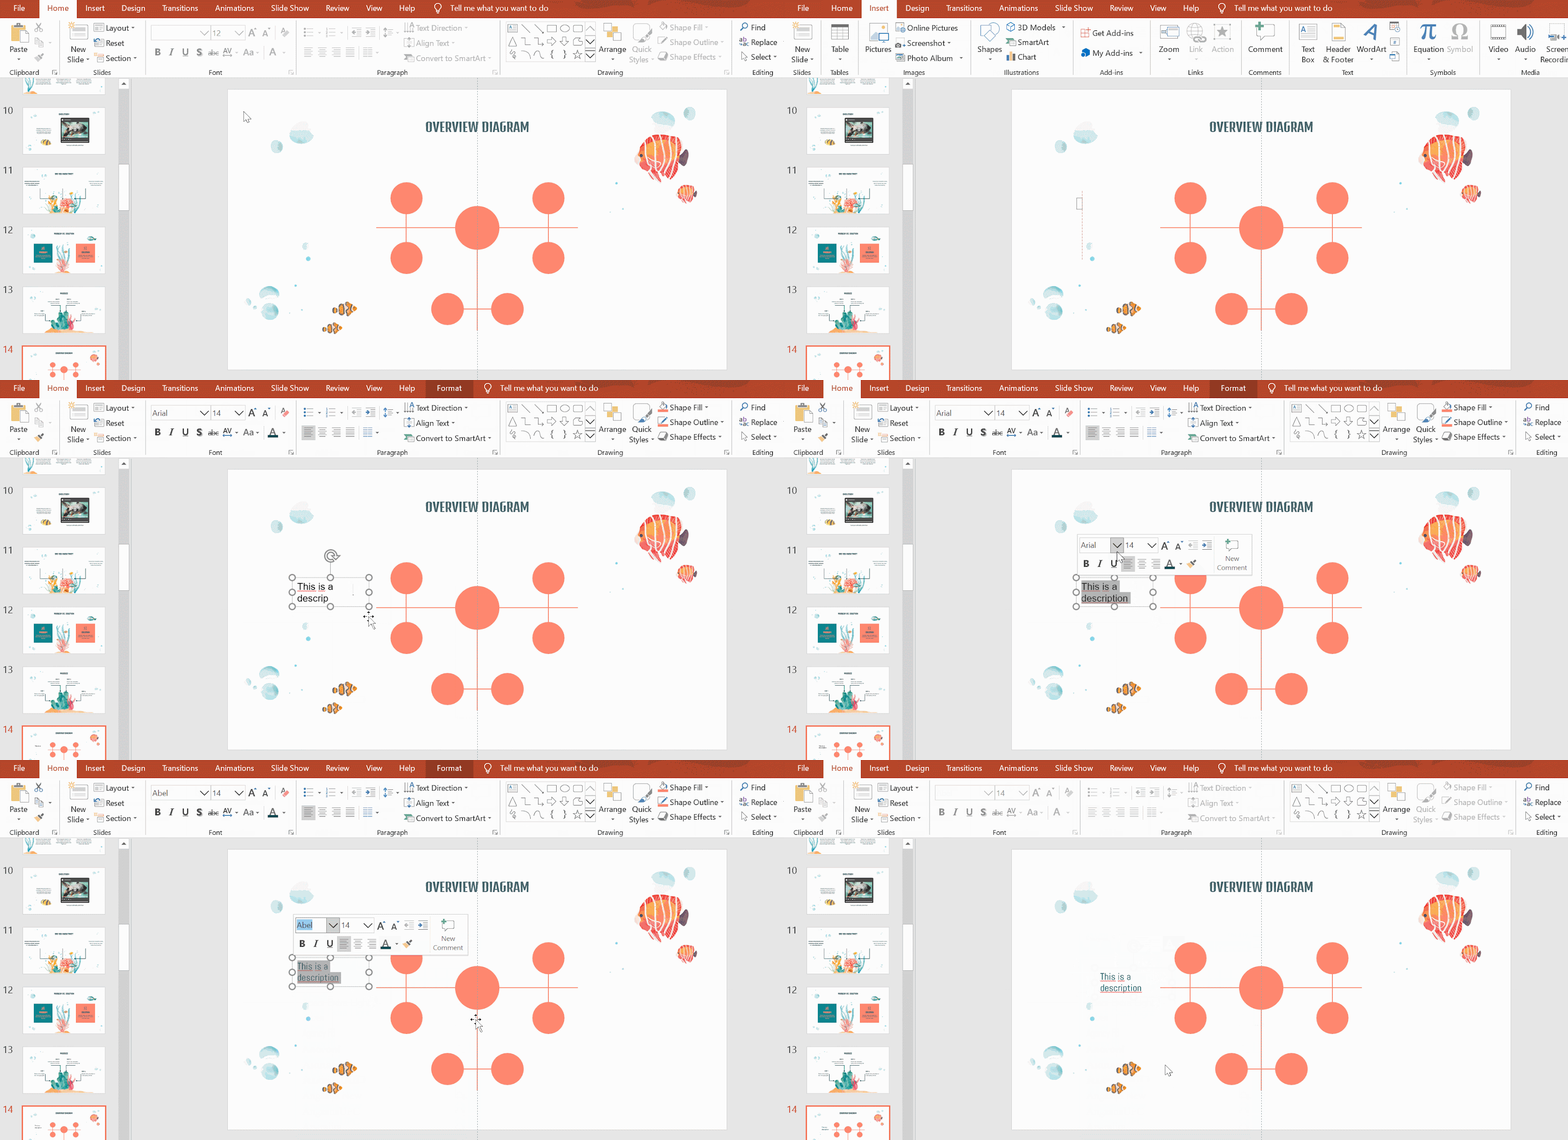
- To add text, click on the Insert in the menu bar and select Text Box. Click and drag to create a text box.
- Write your text. You can either describe the relationships between the nodes or provide more context.
- You may style your text as you wish. We recommend that you stick to the slides’ main colors and fonts as much as possible. Try to keep your text short and sweet. Having too much text can destroy a concept map.
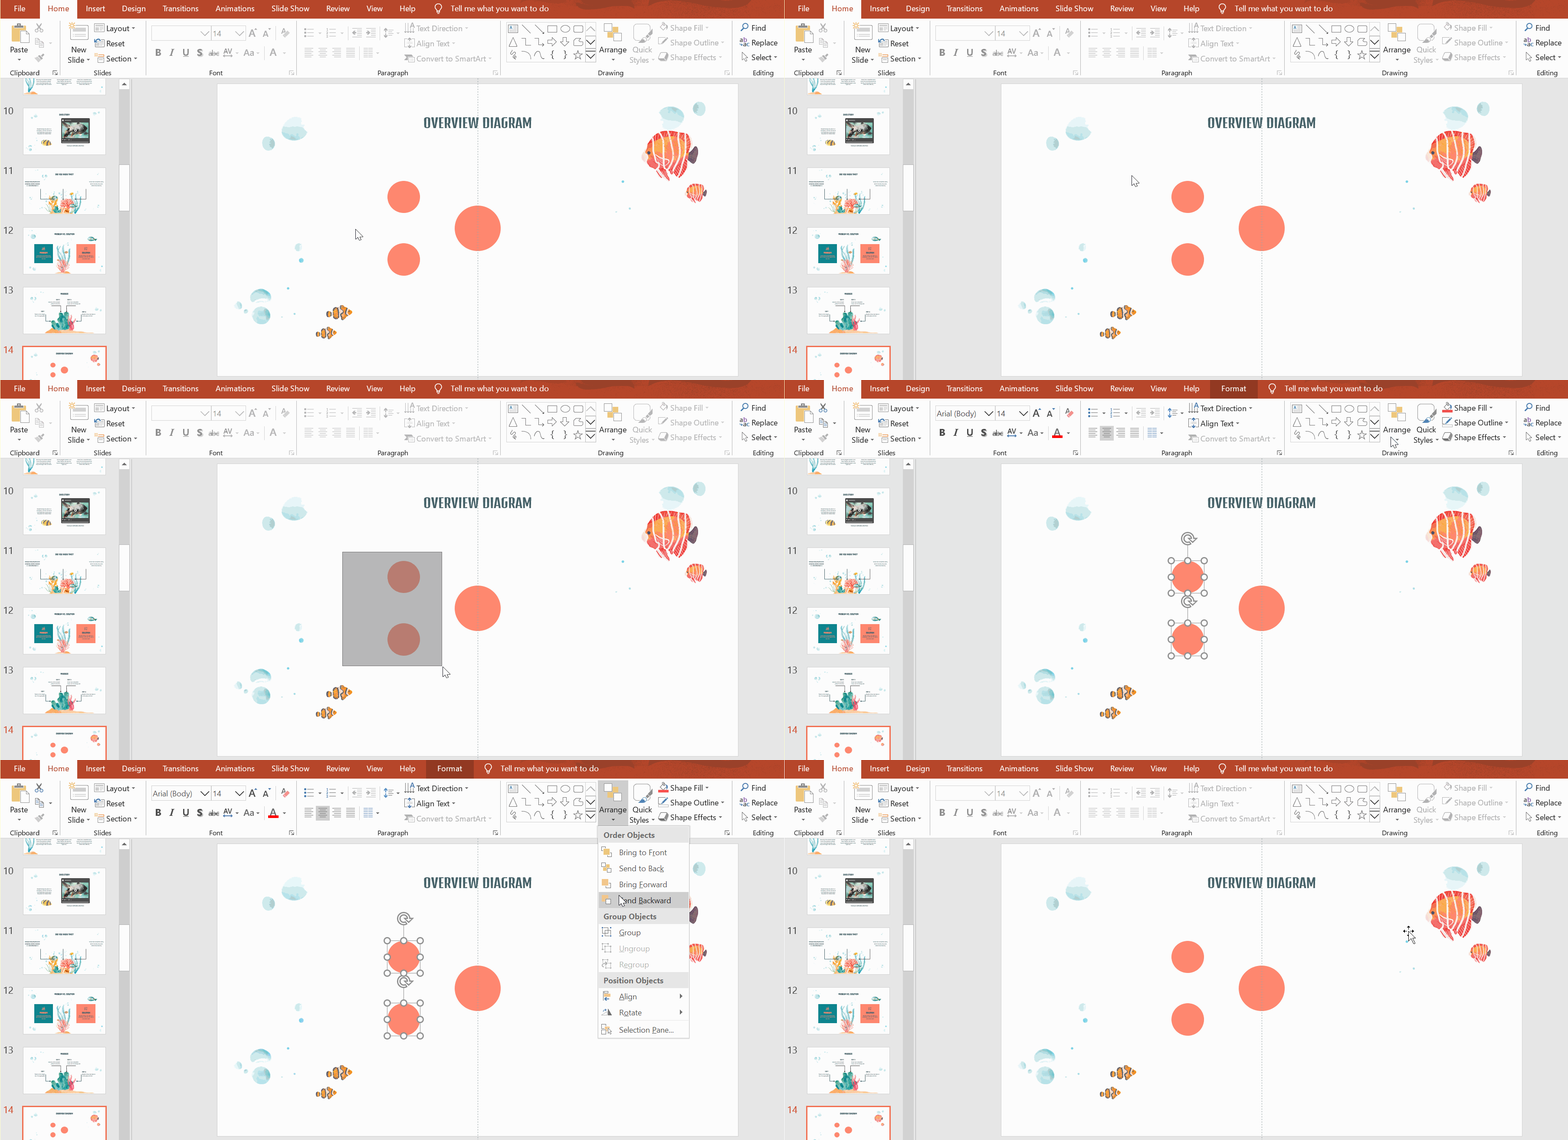
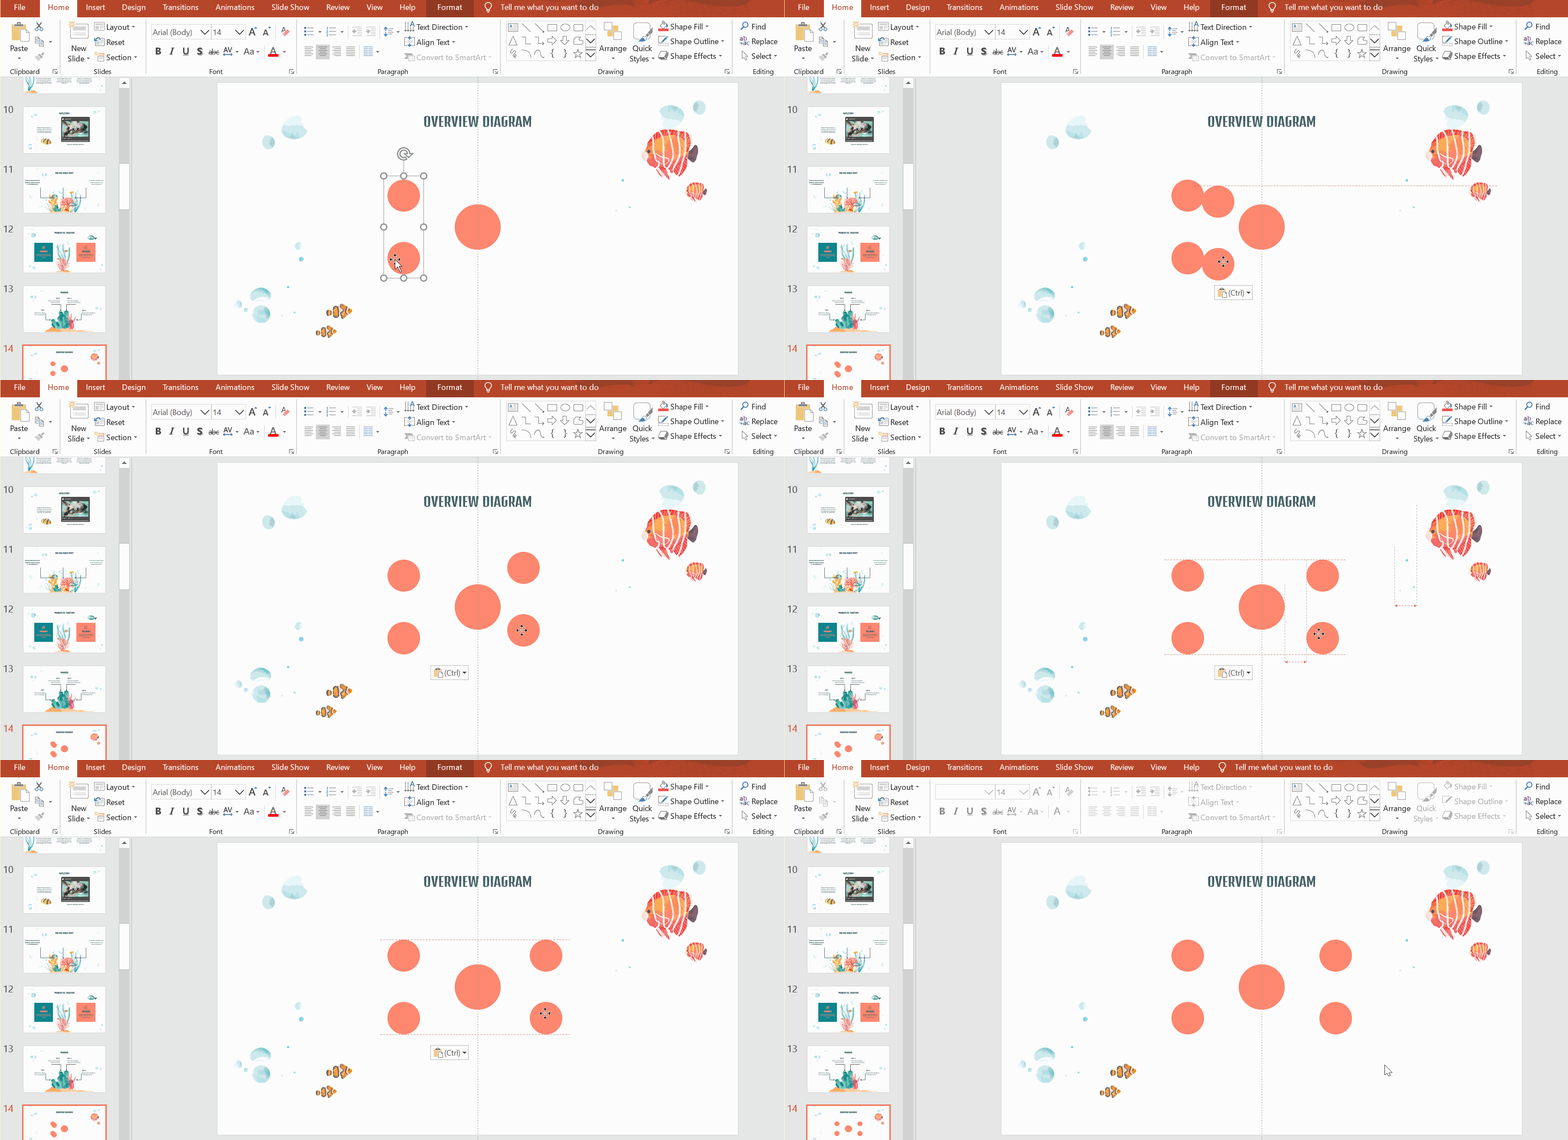
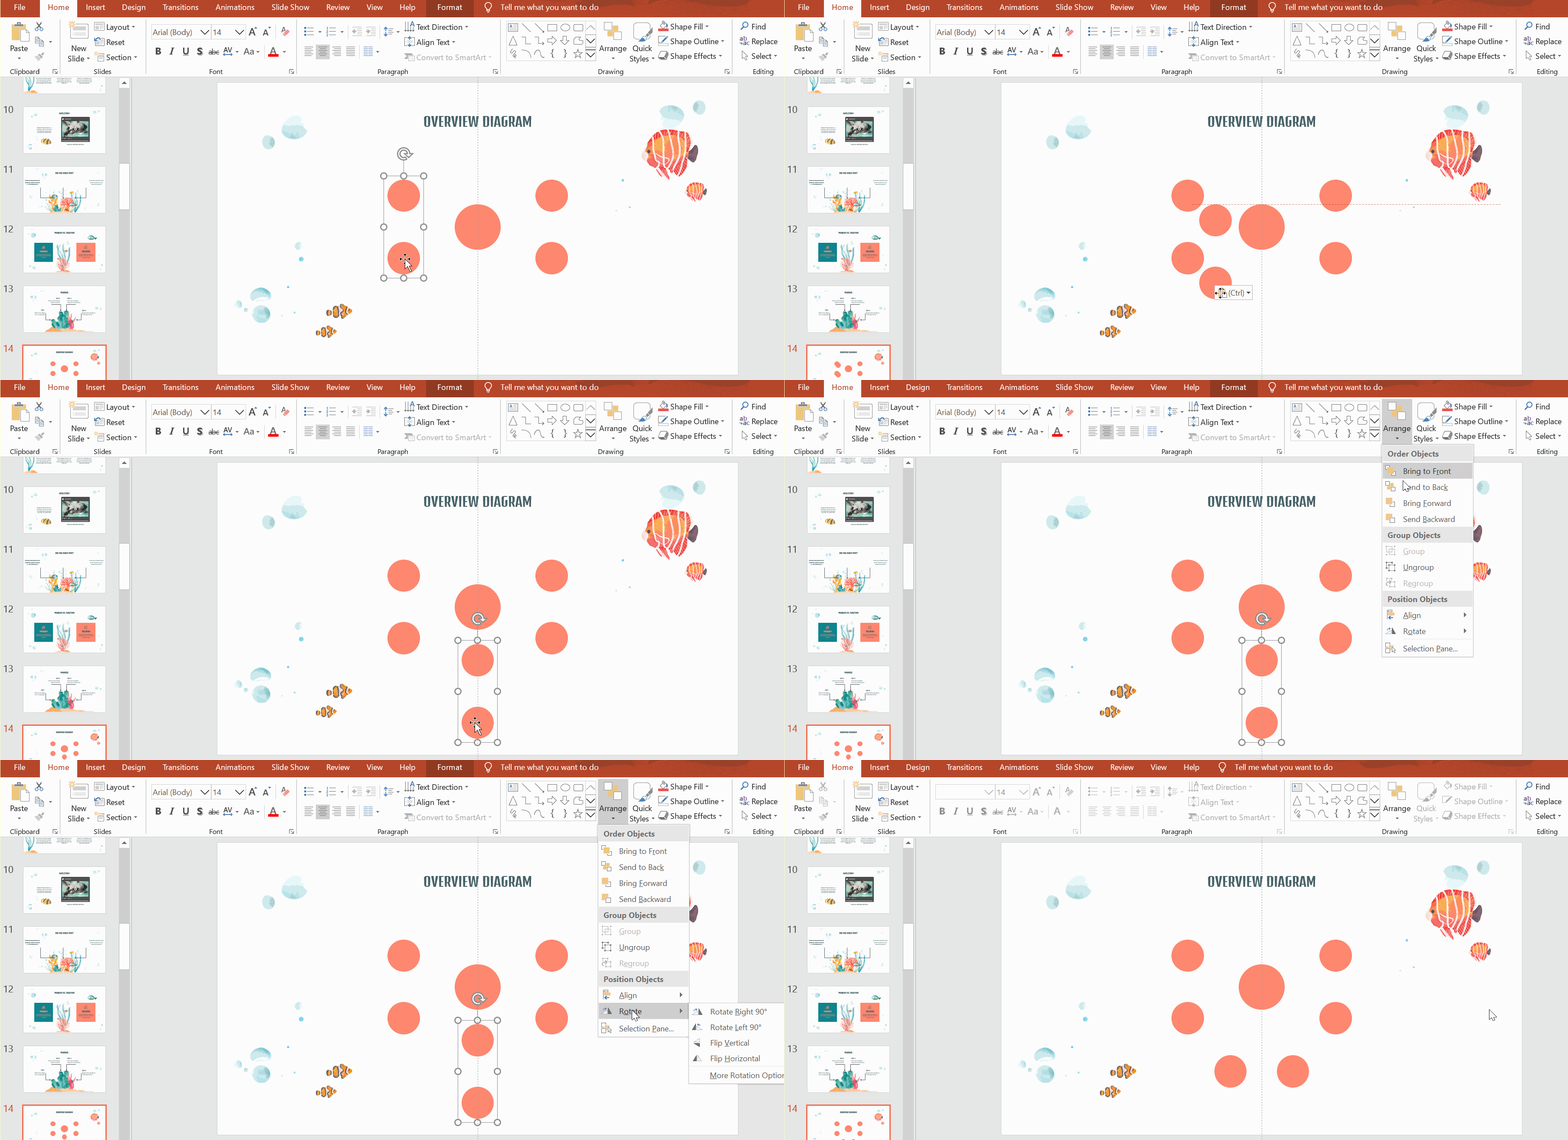
- To add more text boxes, you can simply copy and paste the one you’ve already created. In this concept map, we’ll need three for the concept’s three main relationships.
- You may also fiddle around with the text box alignment. You can align the text box on the sides of the concept map to the left and right, while having the text box at the bottom centralized.
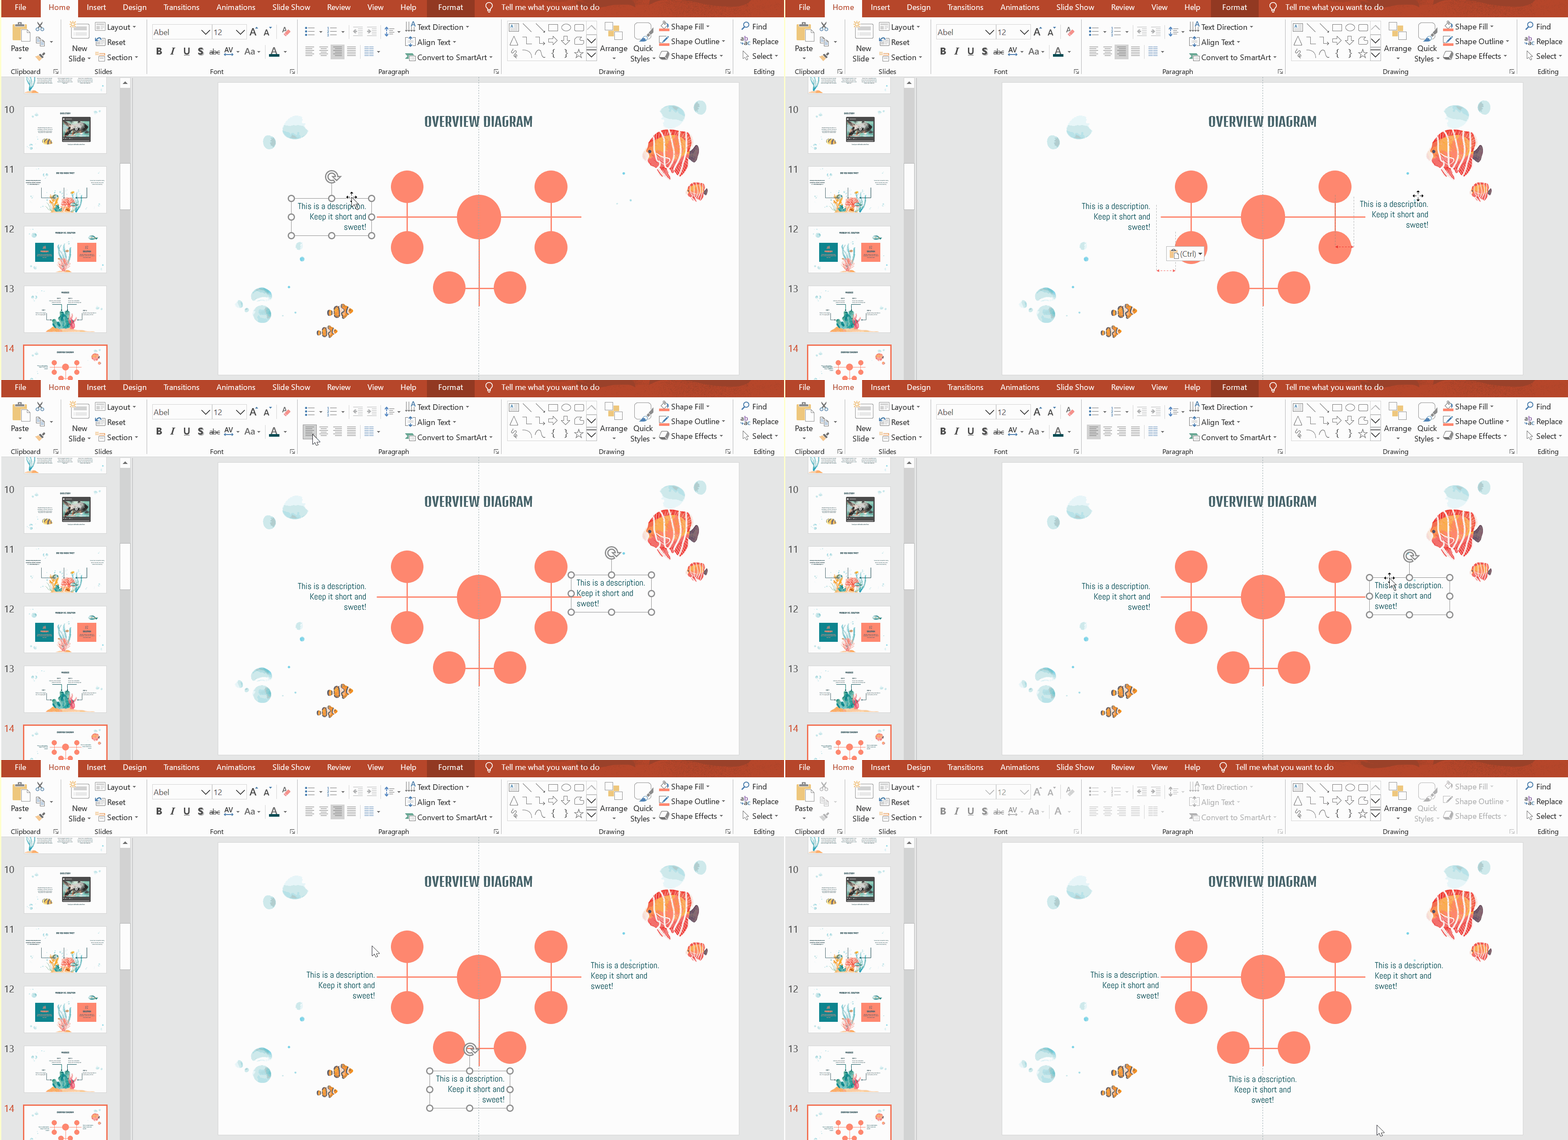
Adding visual details to a concept map
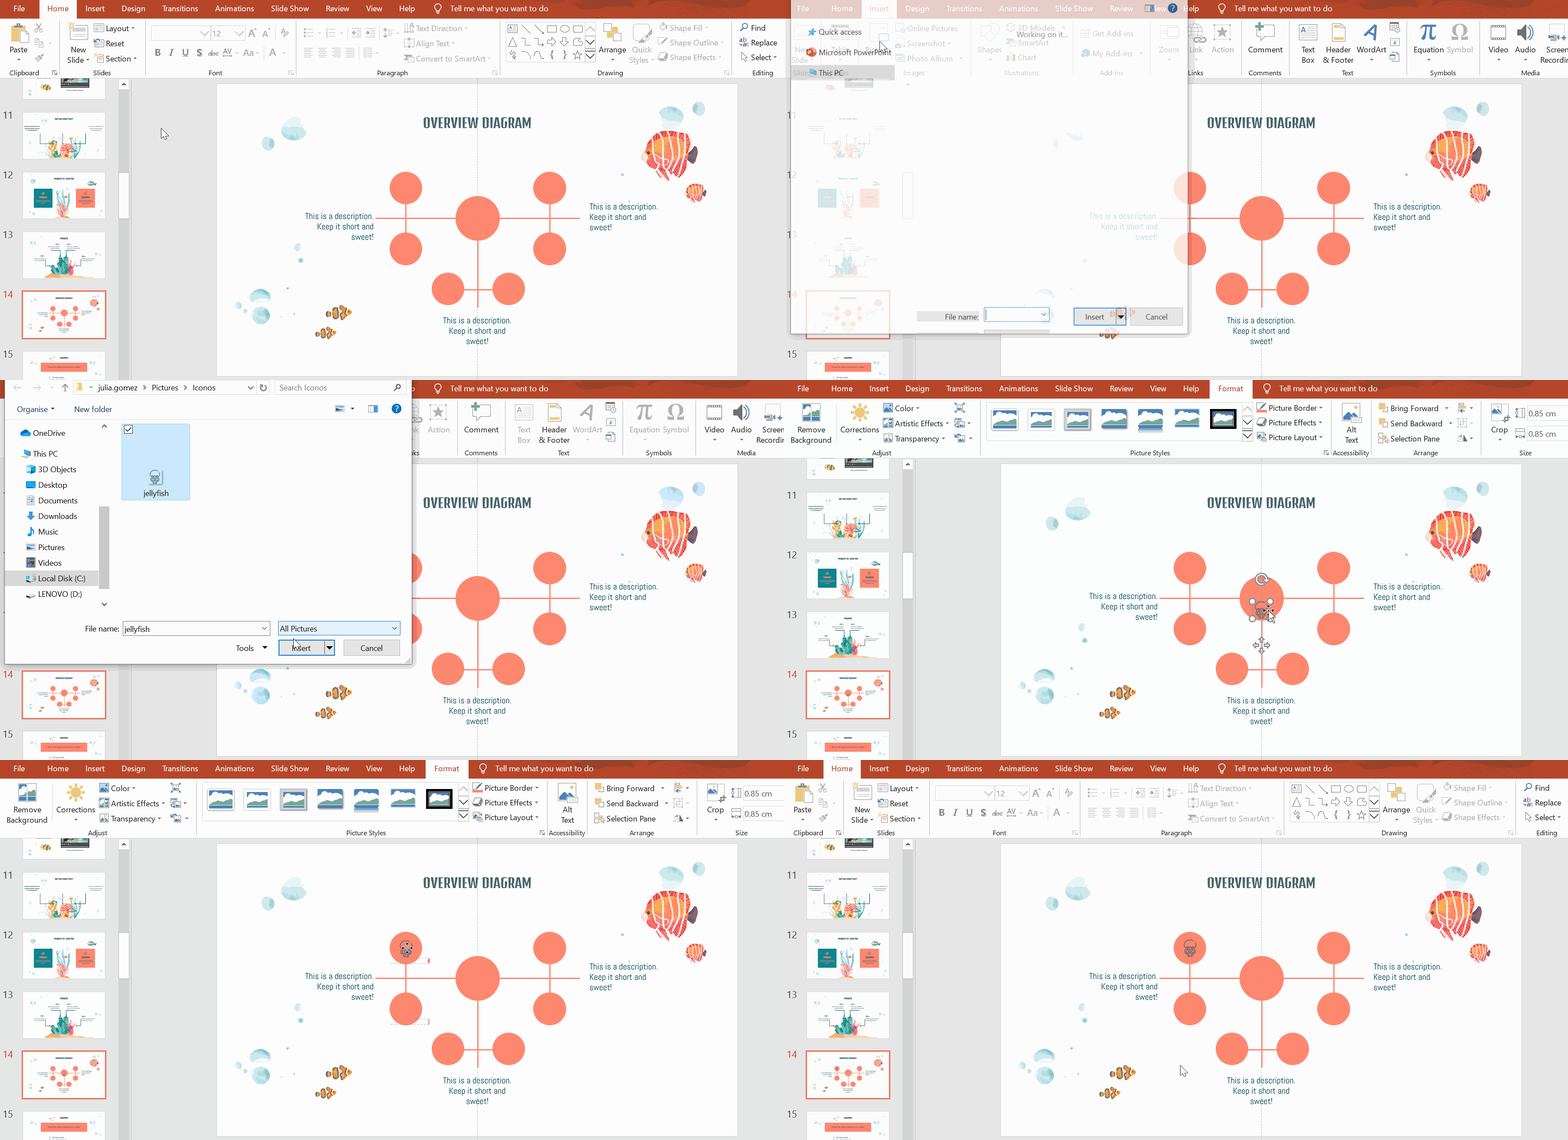
If you wish to use other icons, you may download them from GreatPPT. After saving them, select Insert → Pictures to browse and import them into your presentation.
Next, resize the icons to the desired size and position them in circles.
Related tutorial: How to add and modify icons in PowerPoint
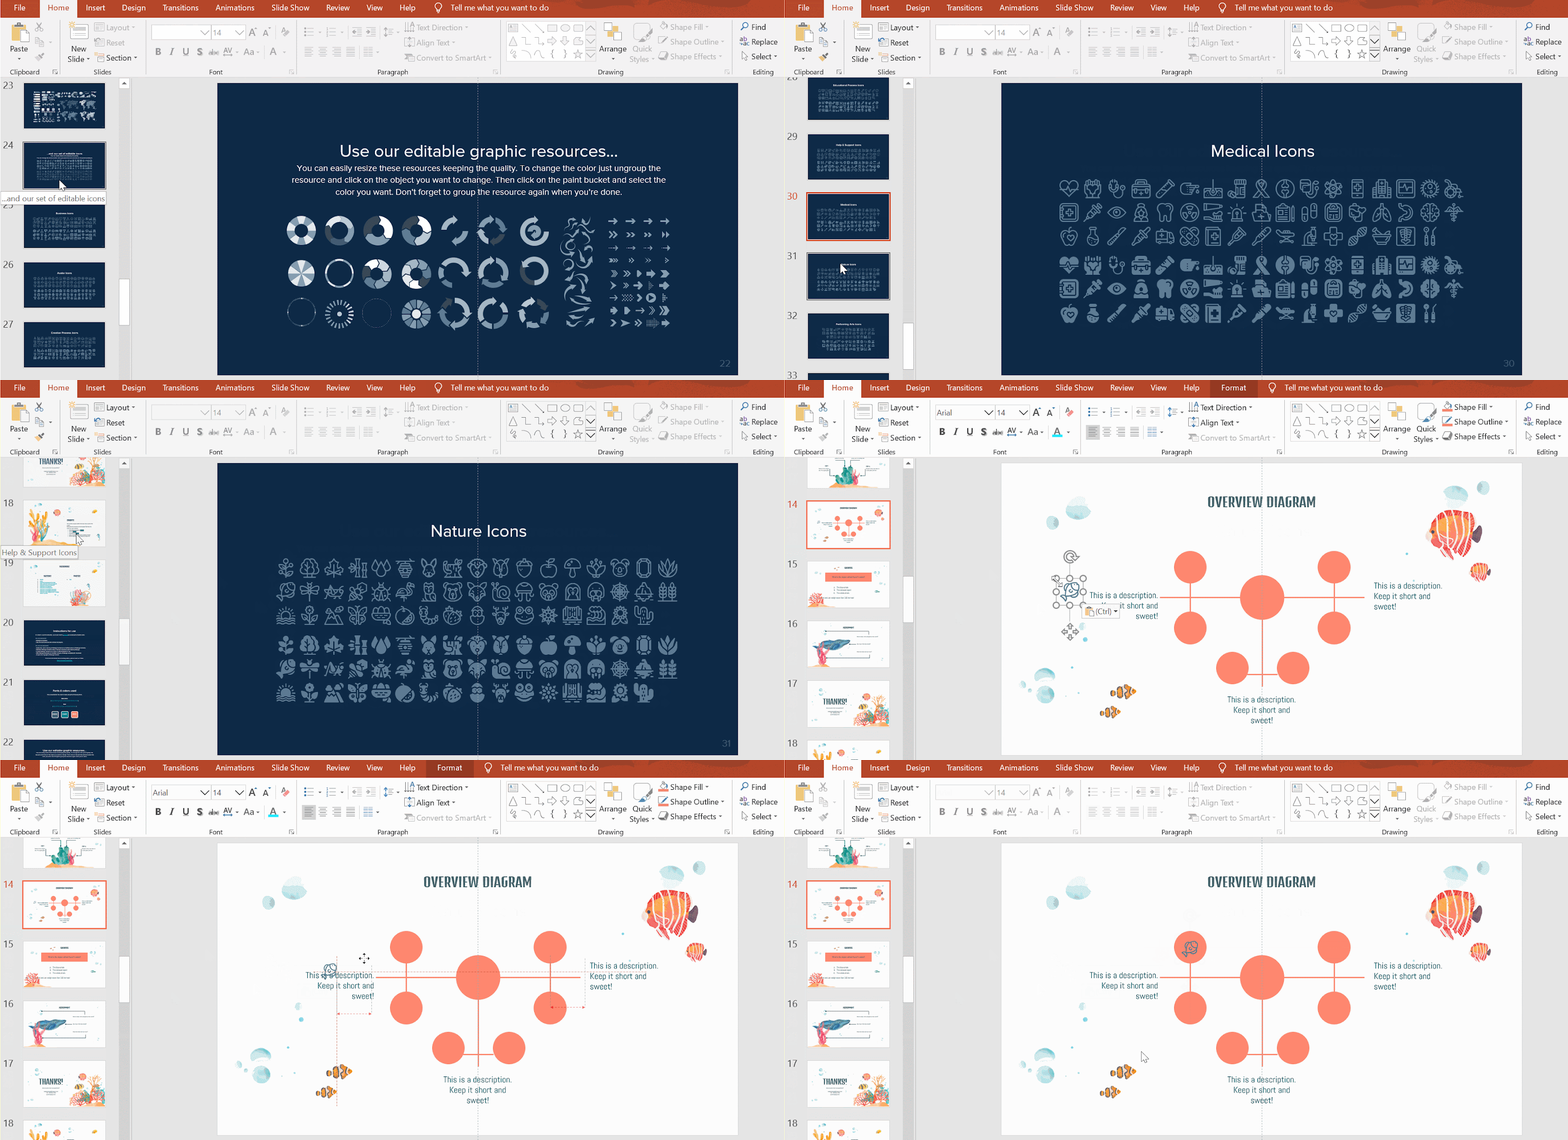
Pro tip: You may find a whole variety of extra icons in all of GreatPPT’s PowerPoint templates. They are located after the Thank you slide of each template.
- Open any of our PowerPoint templates and go to the icons slide.
- Copy (Ctrl + C) the icon you want to use.
- Return to the slide you want to paste your icon on (Ctrl + V).
- Resize the icon by dragging its corner either inwards or outwards. Just like you did with the circles, hold down Shift to maintain the icon’s proportion.
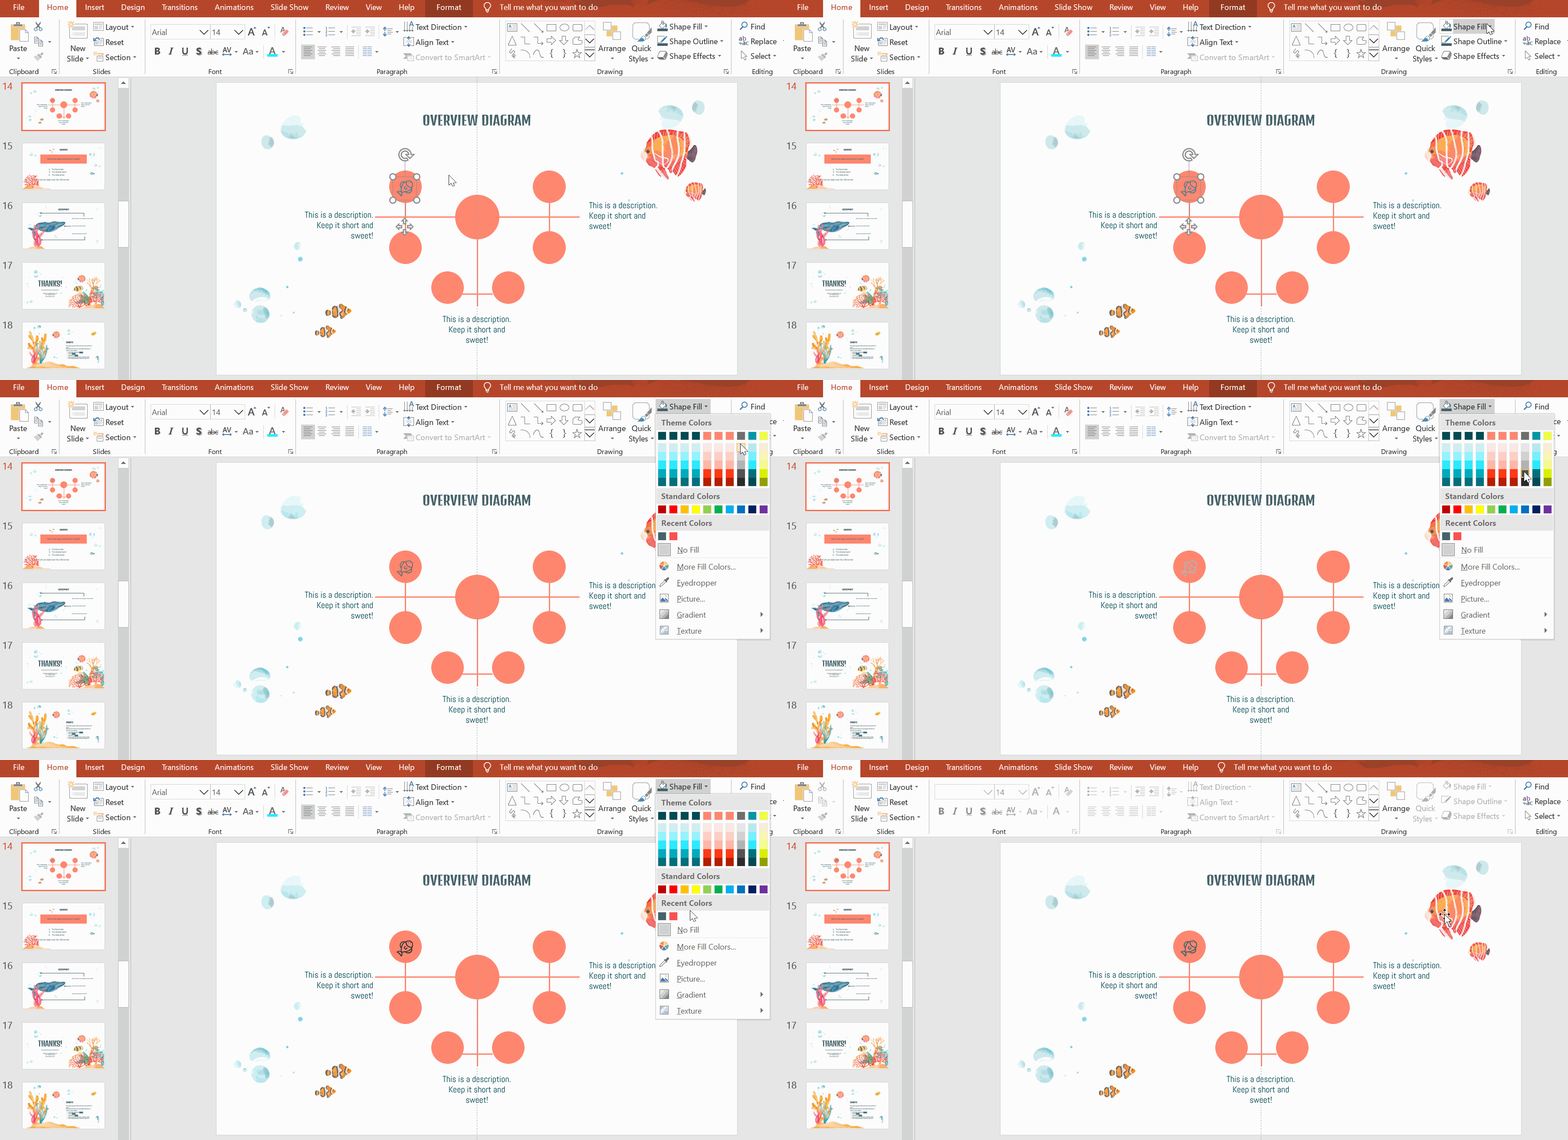
- To change the icon’s color, select the icon and click on Shape Fill or Shape Outline in the Drawing section.
- You’re now at the last step. To finalize the concept map, copy and paste (Ctrl + C and Ctrl + V) the other icons you’d like to use. We recommend that you continue using the slides’ main theme colors and style. Also make sure to position icons in the middle of the circles for a cleaner look by using PowerPoint’s visual guidelines.
Related tutorial: How to Arrange and Align Elements in PowerPoint
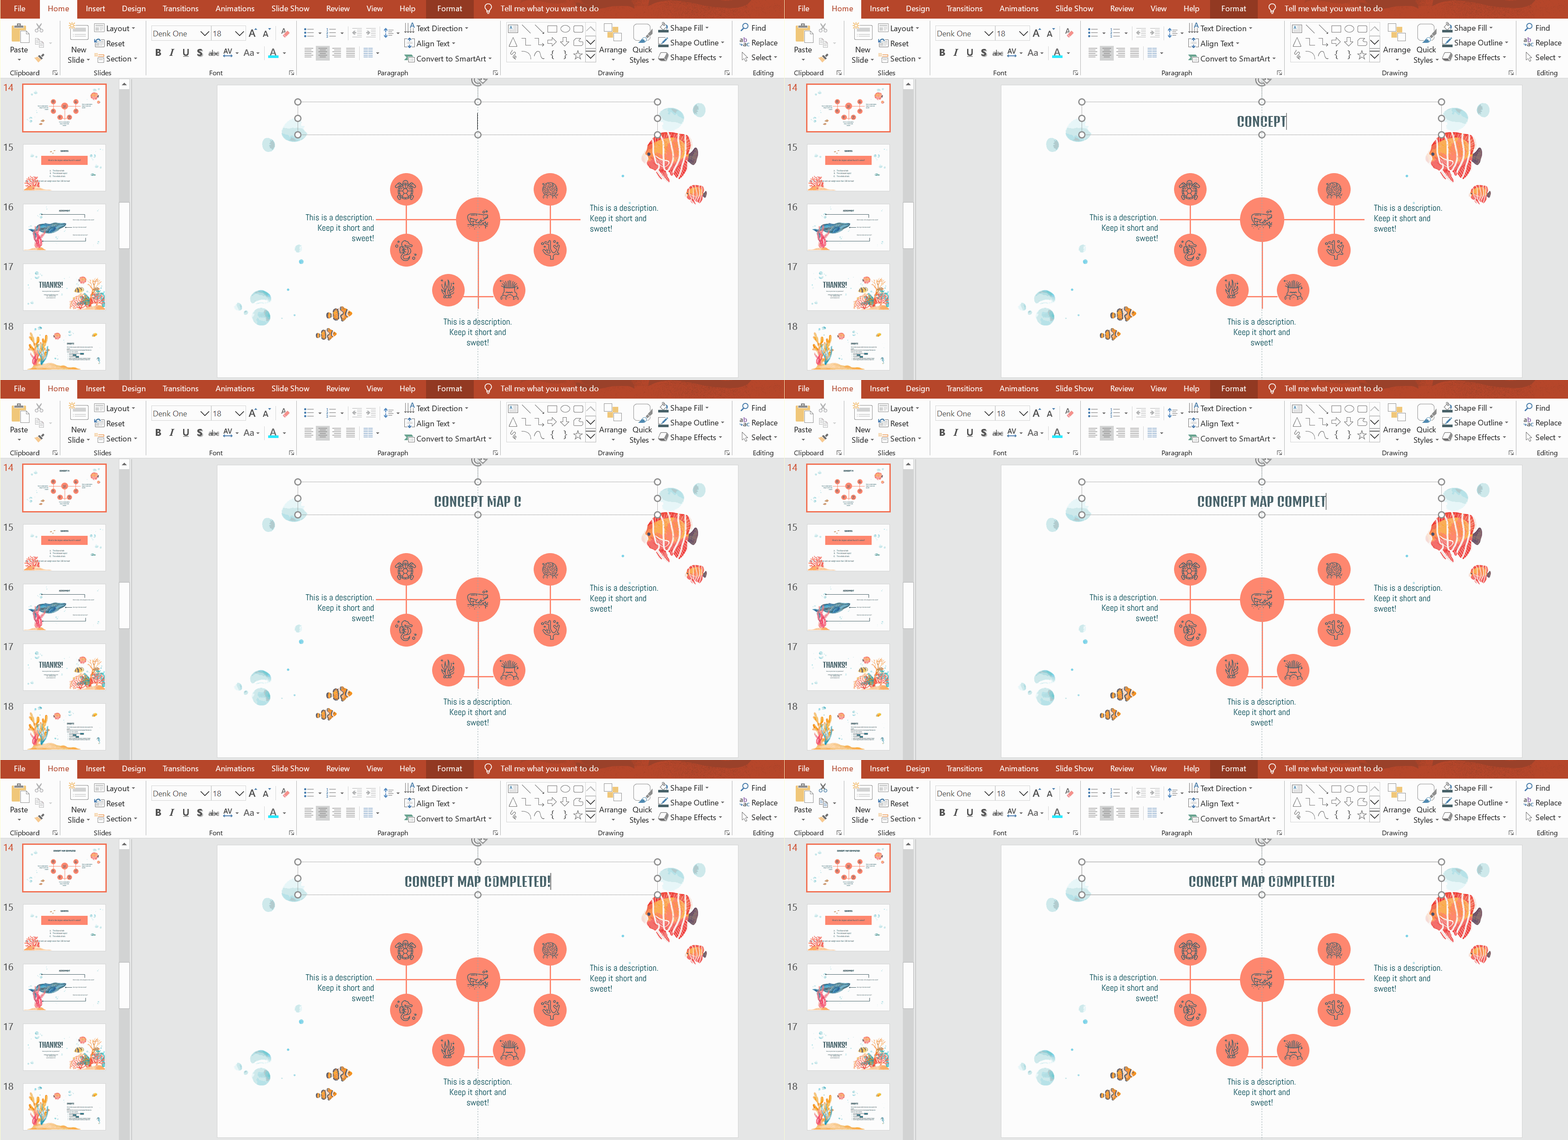
https://www.greatppt.com/ themes here you have it: a concept map created from scratch! While this was straightforward to create, you can also use GreatPPT’s ready-made templates that you can customize and edit. Here are some of our most popular designs.

